
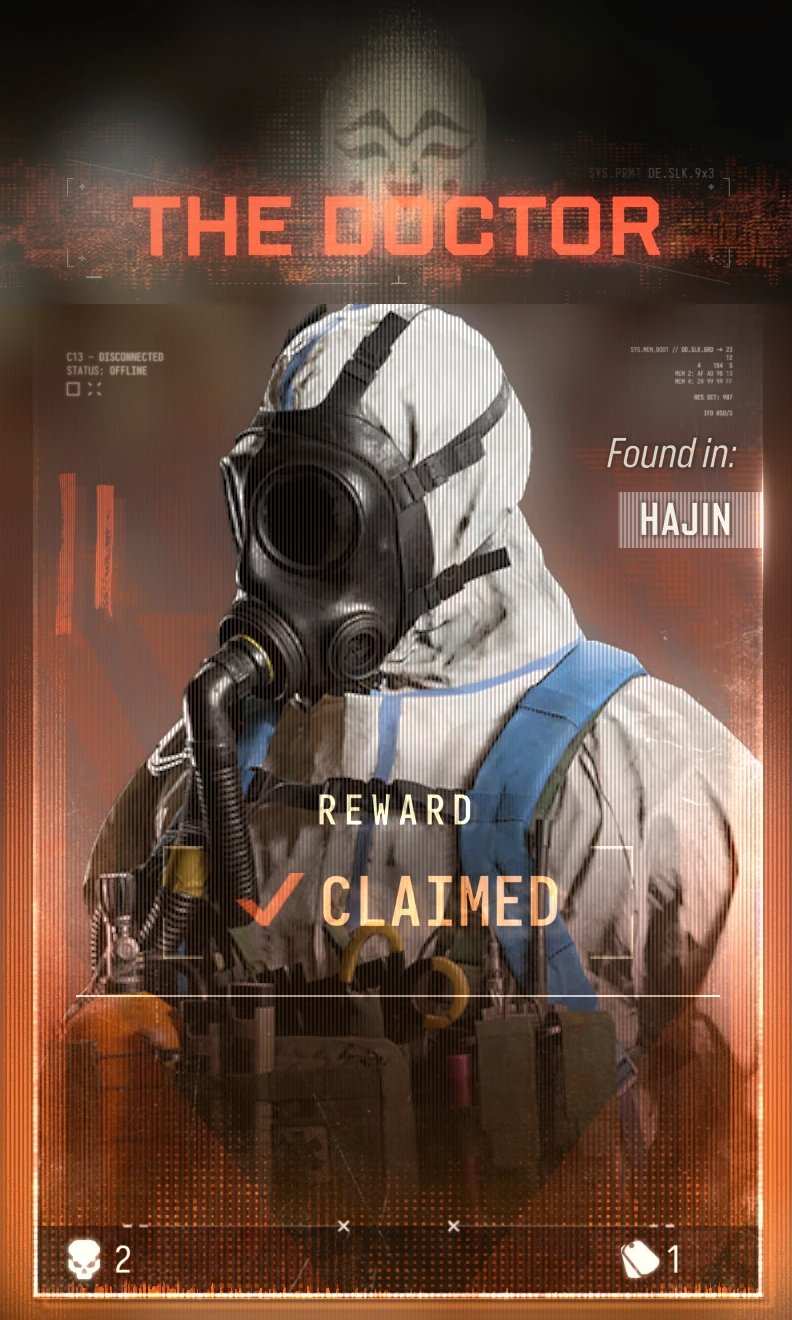
Lieutenant · Hajin
The Doctor
Found in
HAJIN
Type
Lieutenant
DifficultyEasy
Drops
Loot catalog → Patriot XMR
 Dog tag
 MISSION KEY DMZ field guide
Season 1 — X01 DMZ is live
Lieutenant · Hajin
Lieutenant
Drops
Loot catalog →Patriot XMRDog tag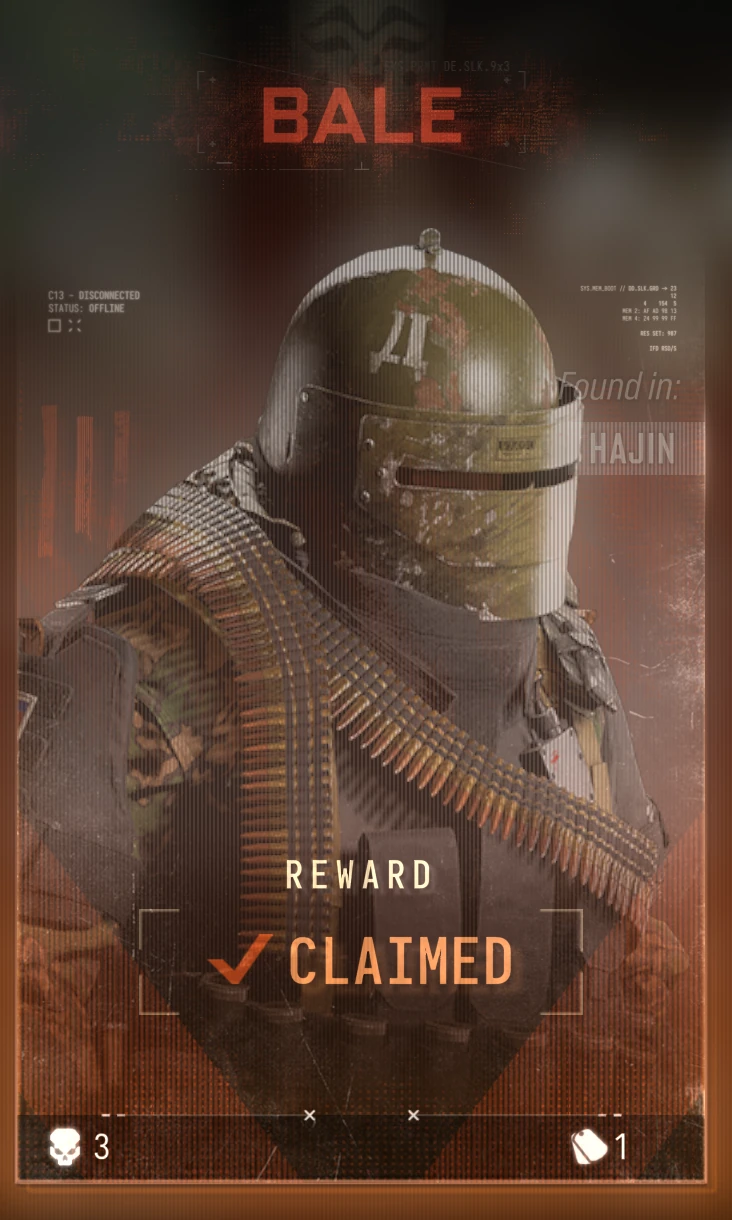
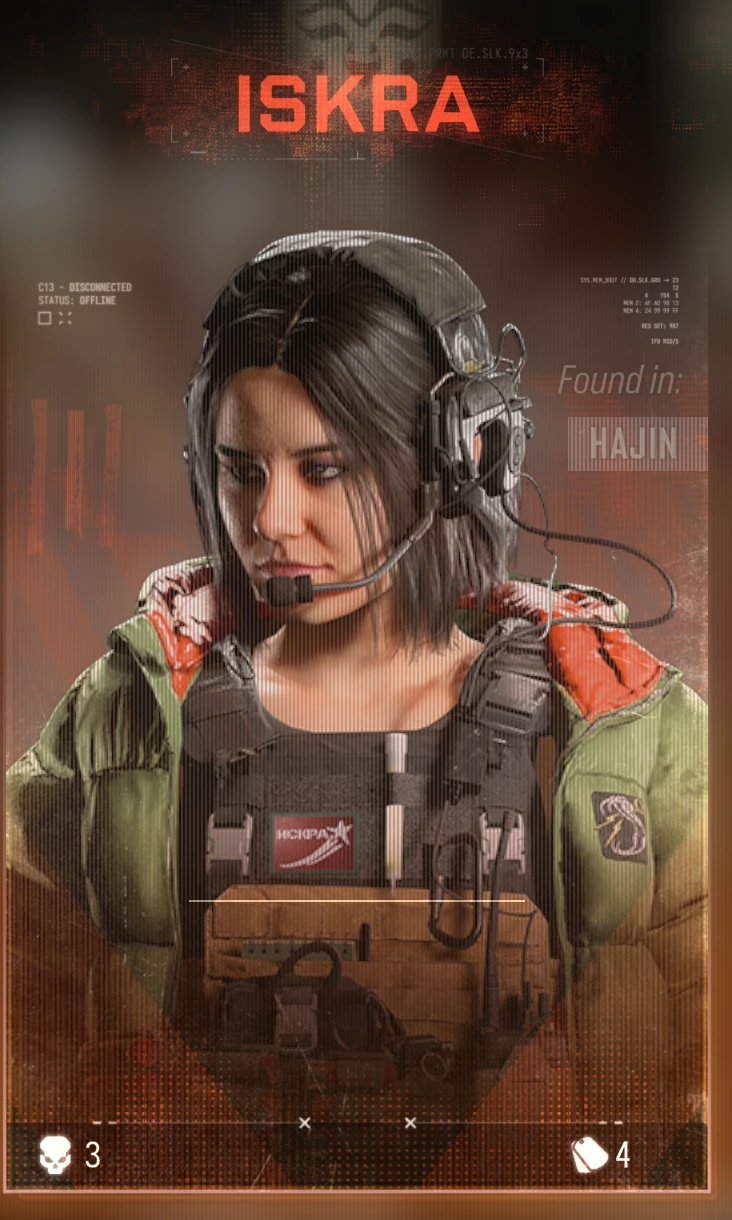
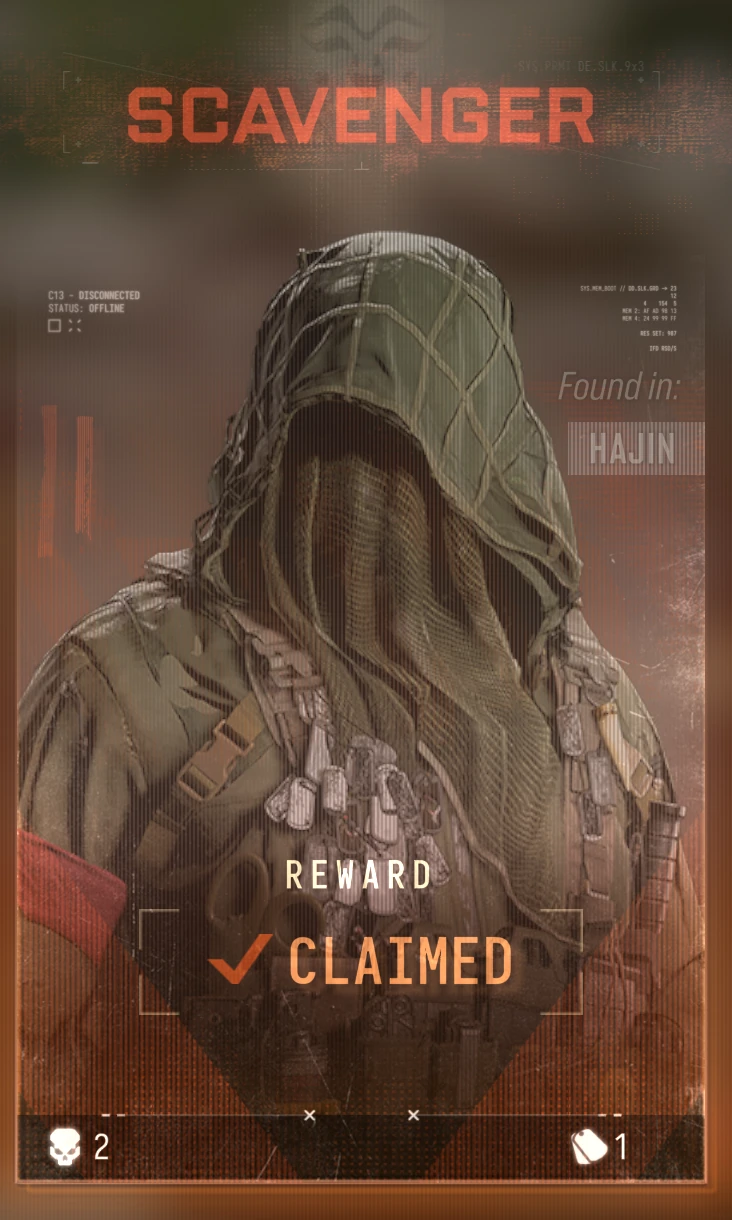
Lieutenant · Hajin
Lieutenant
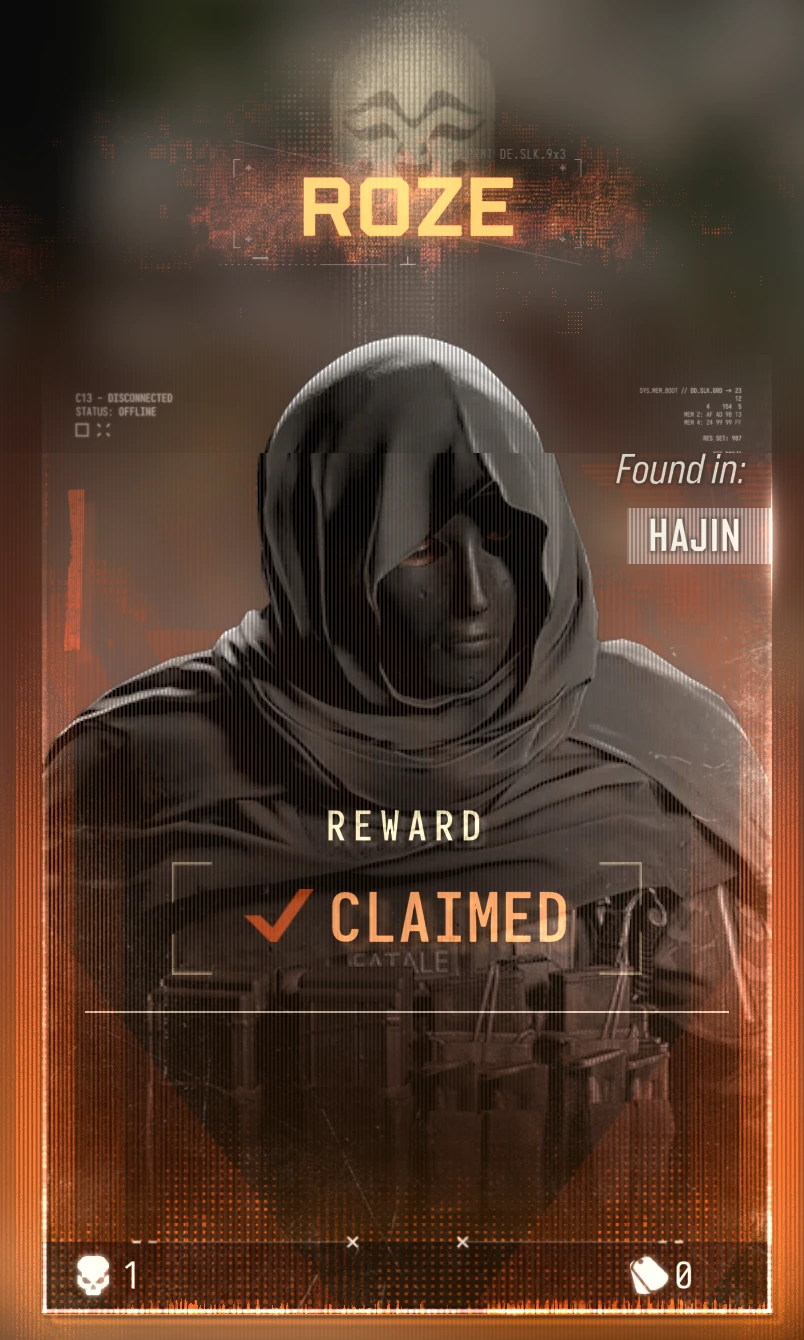
Lieutenant · Hajin
Lieutenant
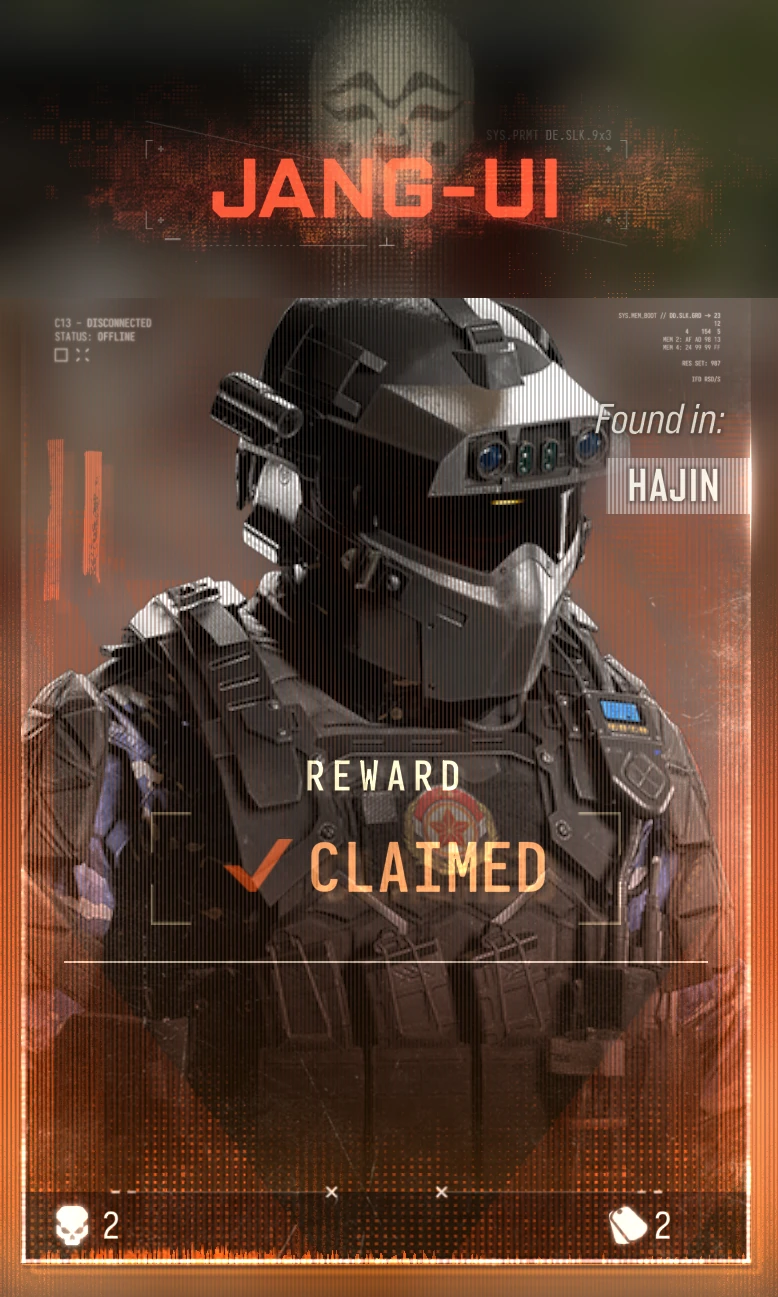
Lieutenant · Hajin
Lieutenant
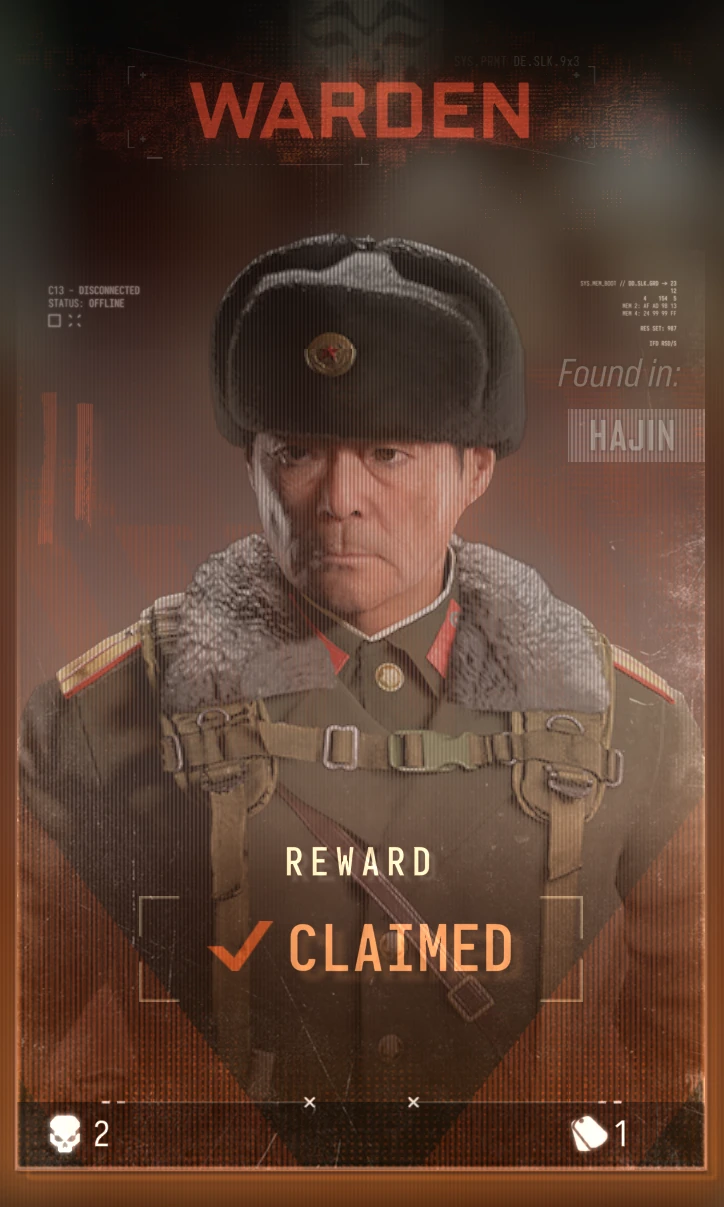
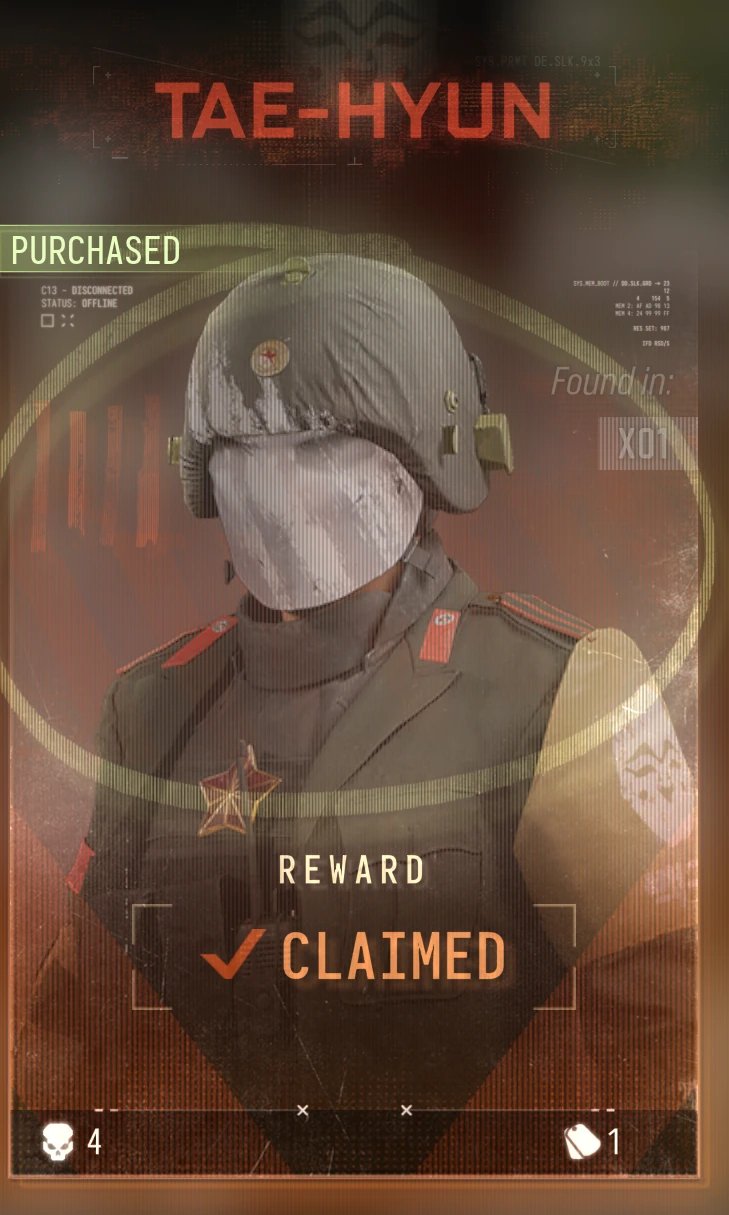
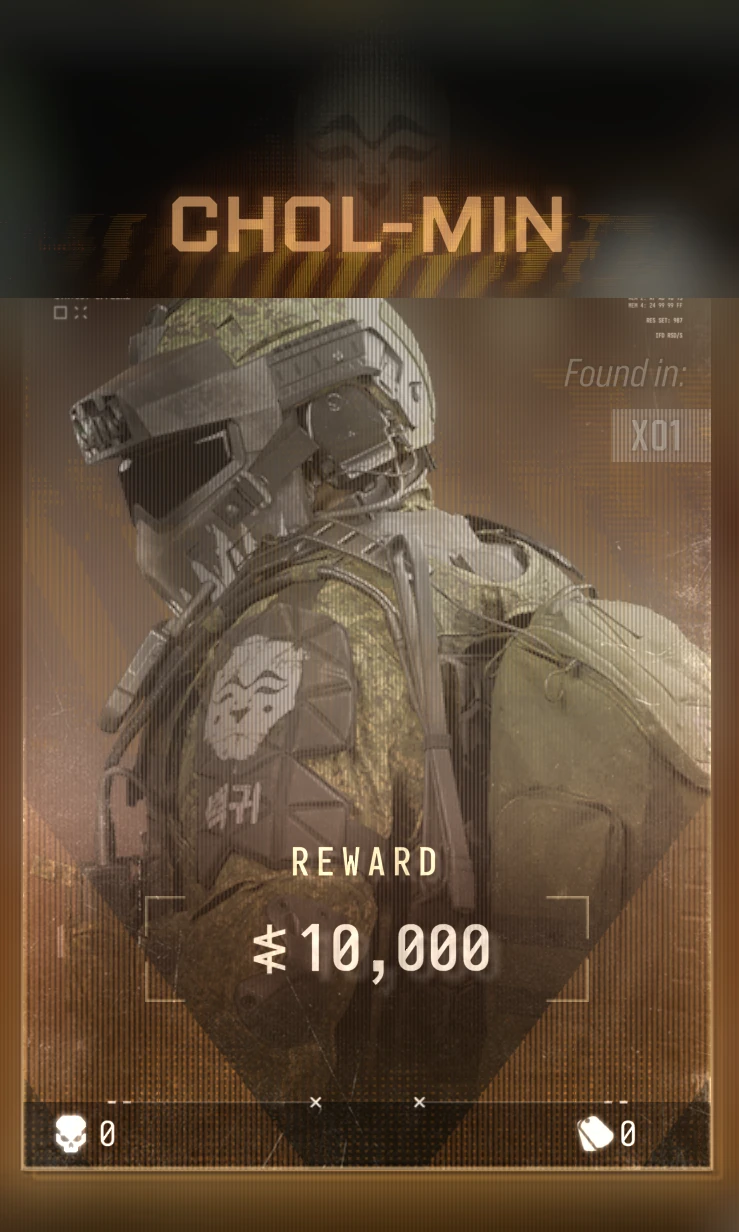
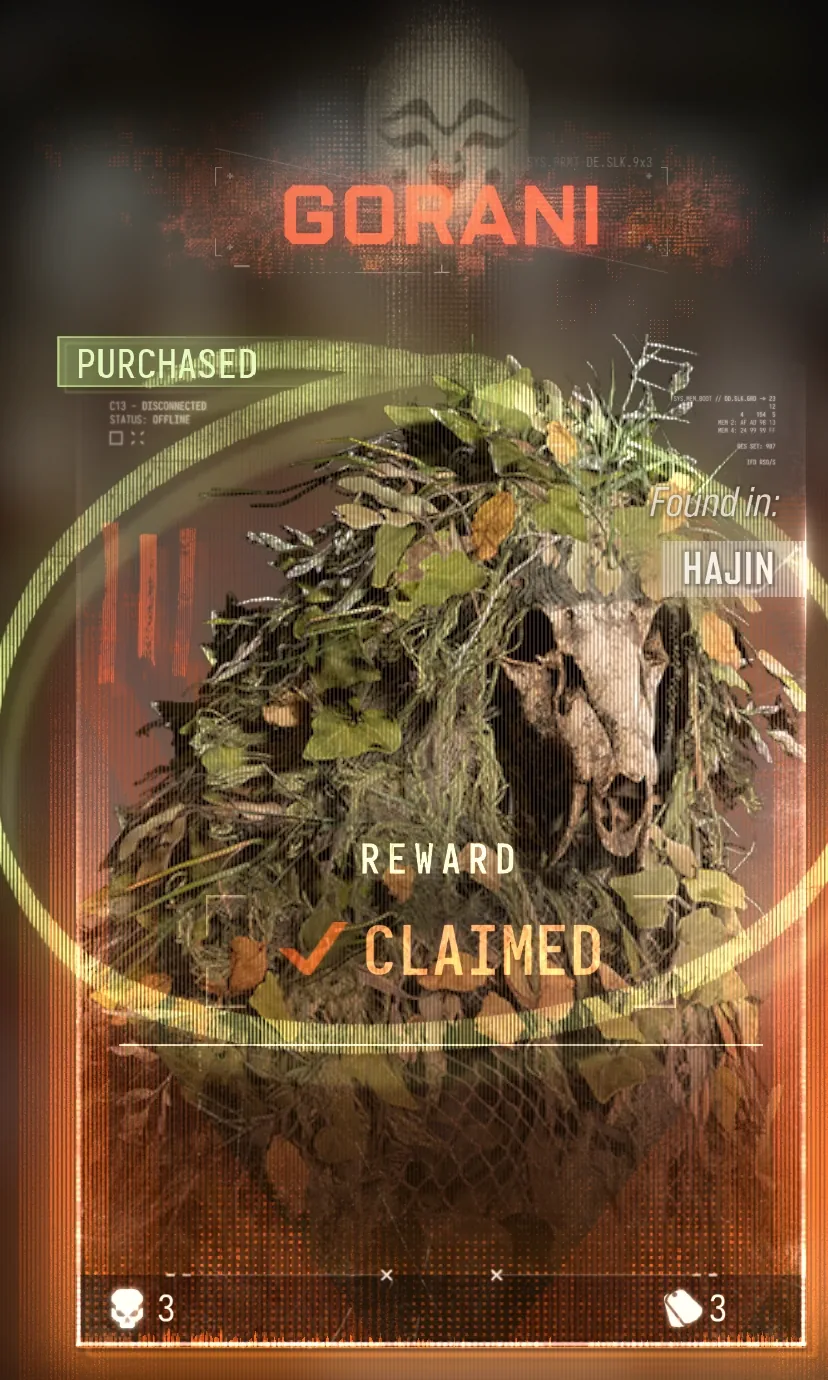
Lieutenant · Hajin
Lieutenant
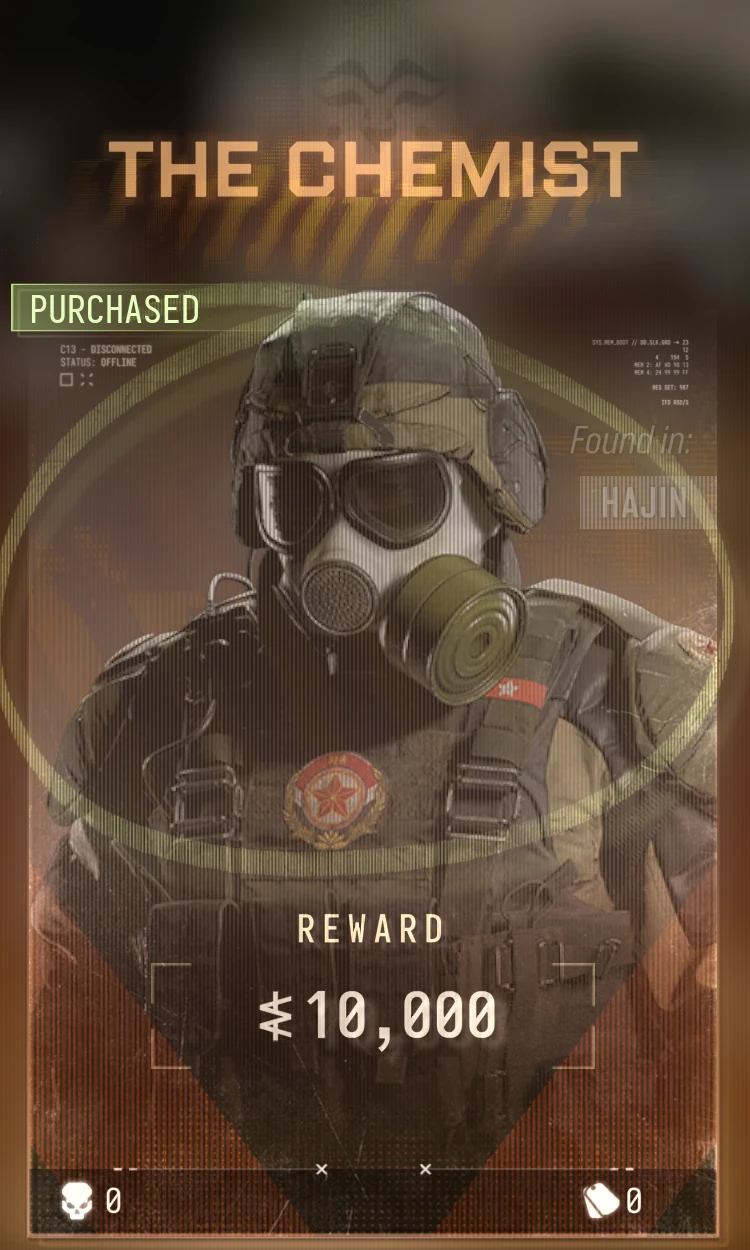
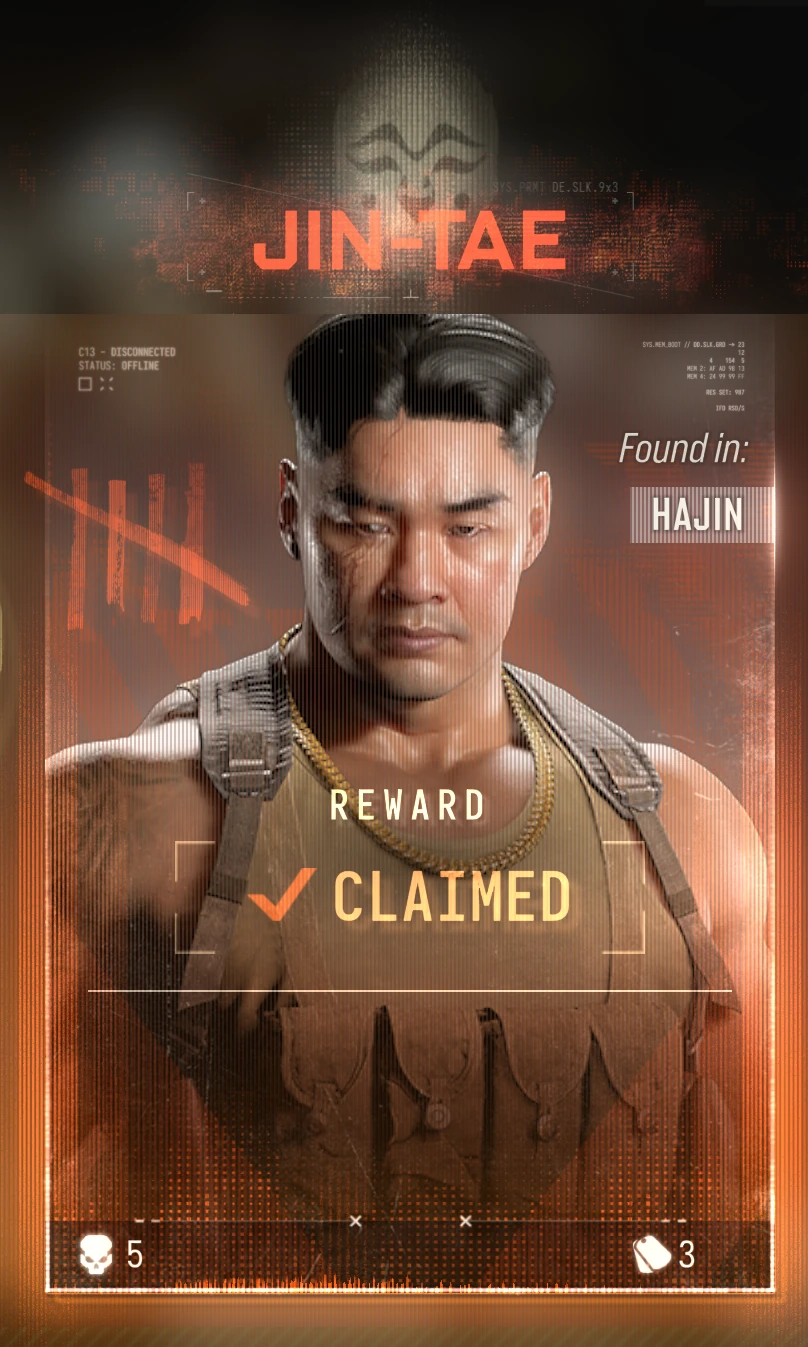
Lieutenant · Hajin
Lieutenant
Drops
Loot catalog → ISO NightshadeDog tag
KILL CHALLENGE
Kill All Hajin Lieutenants Once.
DOG TAG CHALLENGE
Extract Dog Tags From All Hajin Lieutenants 2 Times.
DOG TAG CHALLENGE 2
Extract Dog Tags From All Hajin Lieutenants 5 Times.
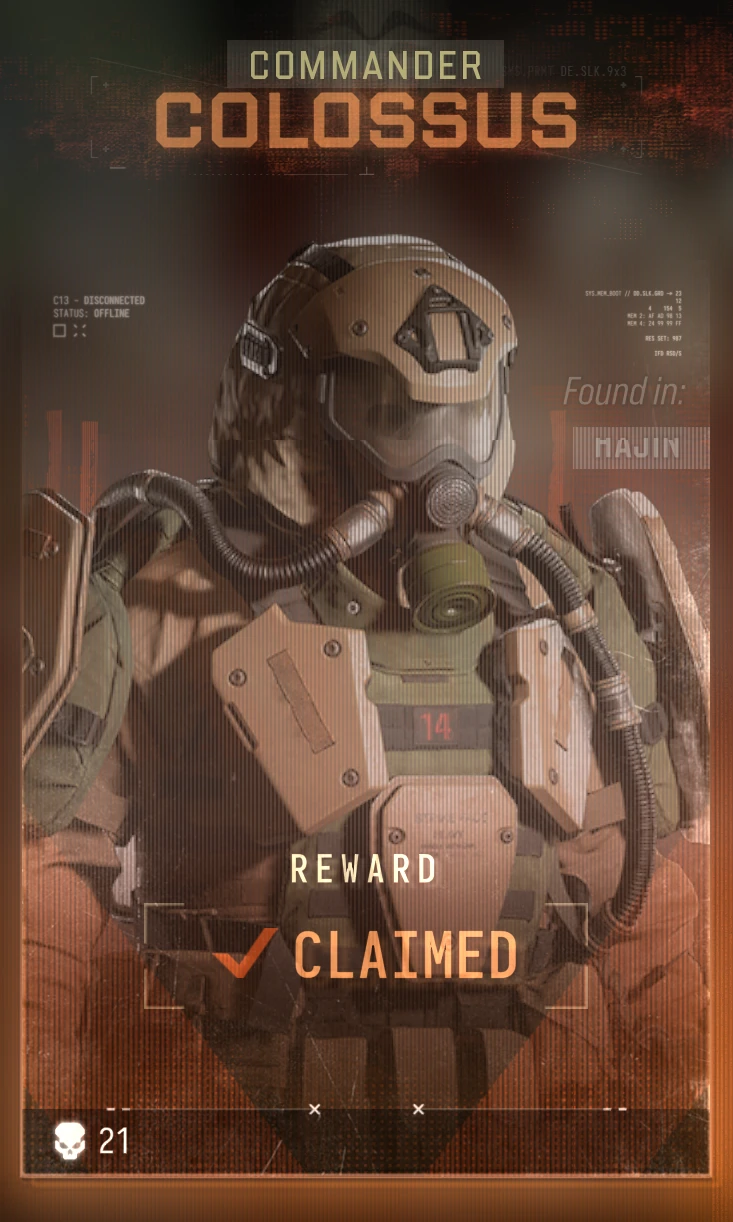
Commander · Hajin
Commander
Drops
Loot catalog → Military Composites
 Experimental Compounds
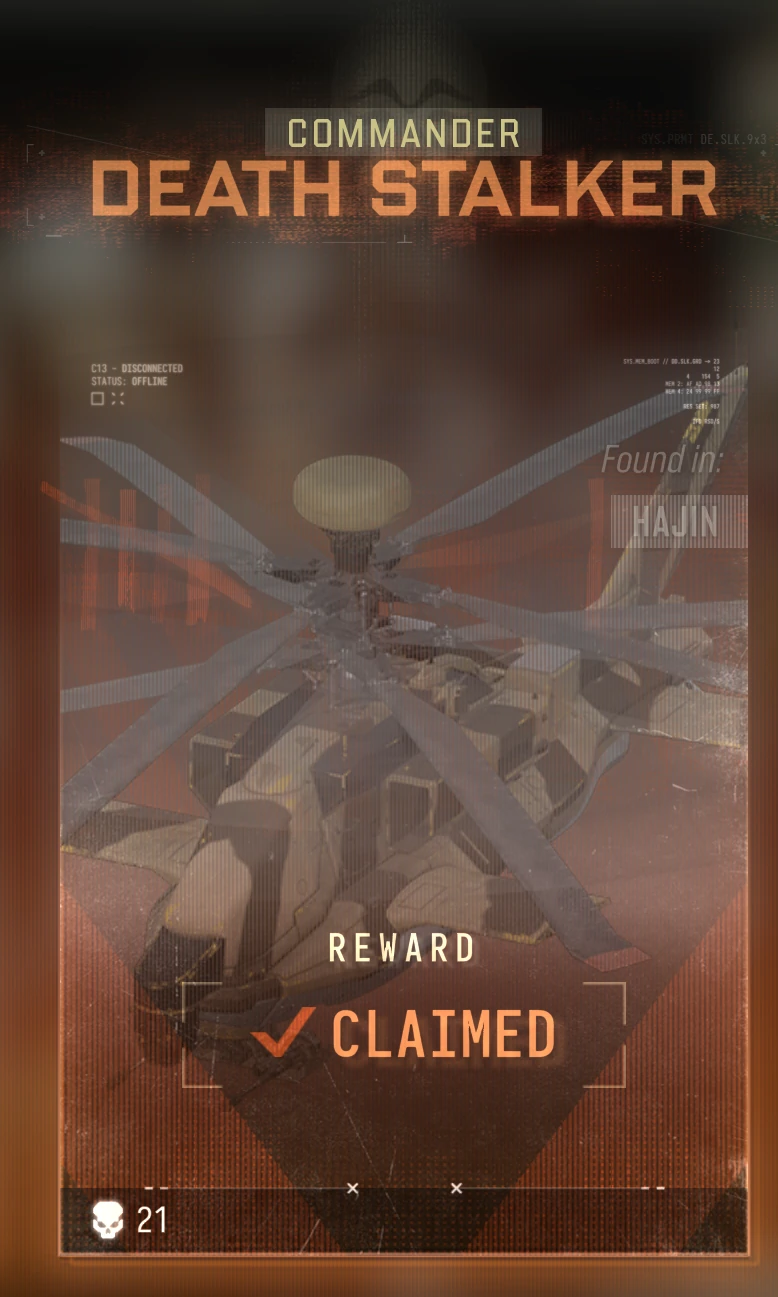
Commander · Hajin
Commander
Drops
Loot catalog → Prototype RF ModuleExperimental Compounds
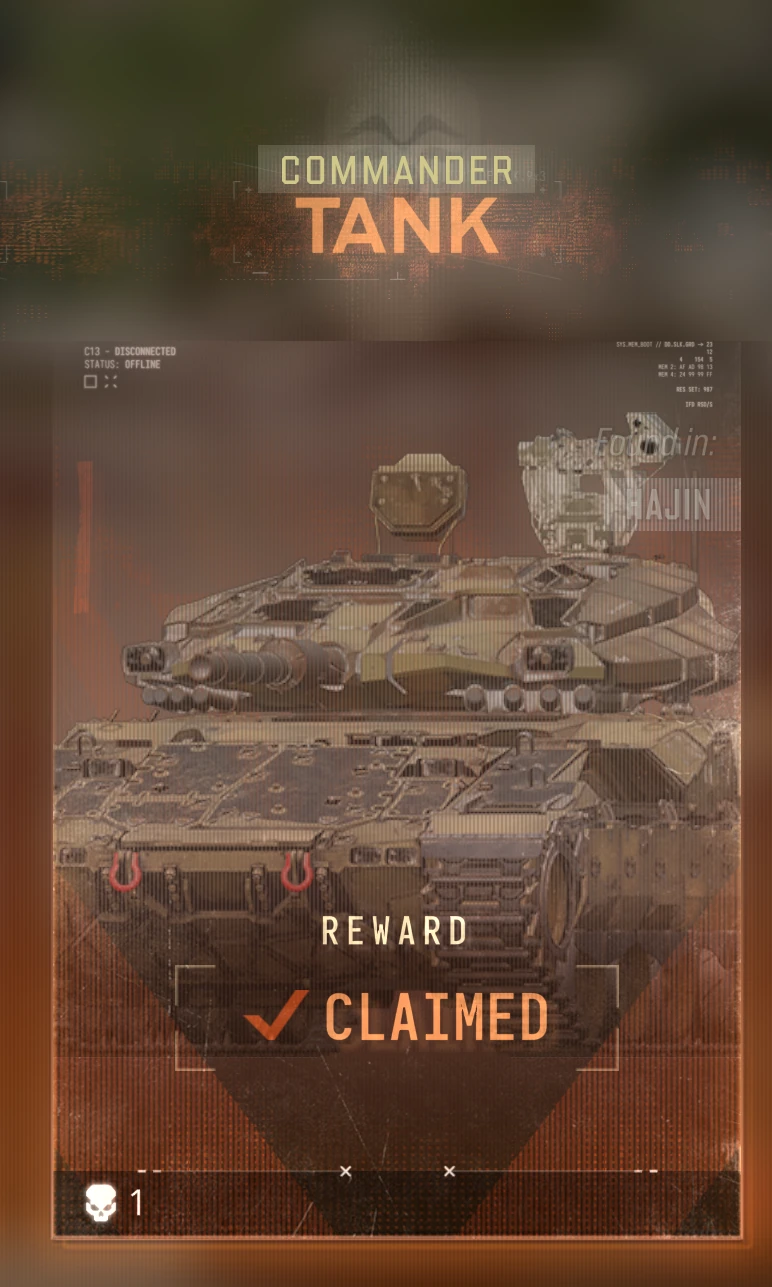
Commander · Hajin
Commander
Drops
Loot catalog → Nano-Structured AlloyExperimental Compounds
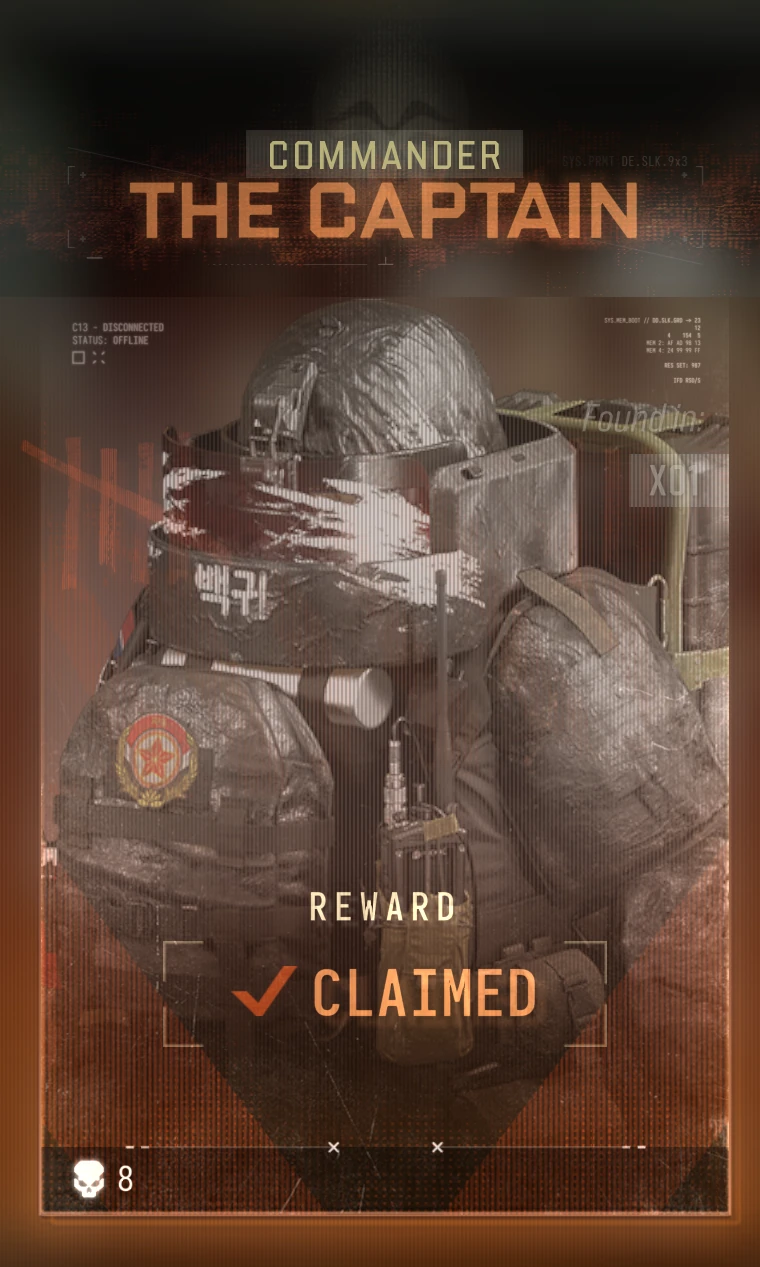
Commander · X01
Commander
Drops
Loot catalog → Deep Vault 301
C2 - Opens the X01 Deep Vault gate (key not consumed) and unlocks Room 301 inside.
 Specter Fabric SampleLegendary
A rare synthetic sample used to print advanced X01 equipment.
 Weak Night Vision GogglesUncommon
Night vision goggles that allow sight in near total darkness. Users can toggle between normal vision and night vision.
 2-Plate Ballistic Gel VestEpic
A slightly more durable armor plate carrier with slots for 2 armor plates that regenerates over time.
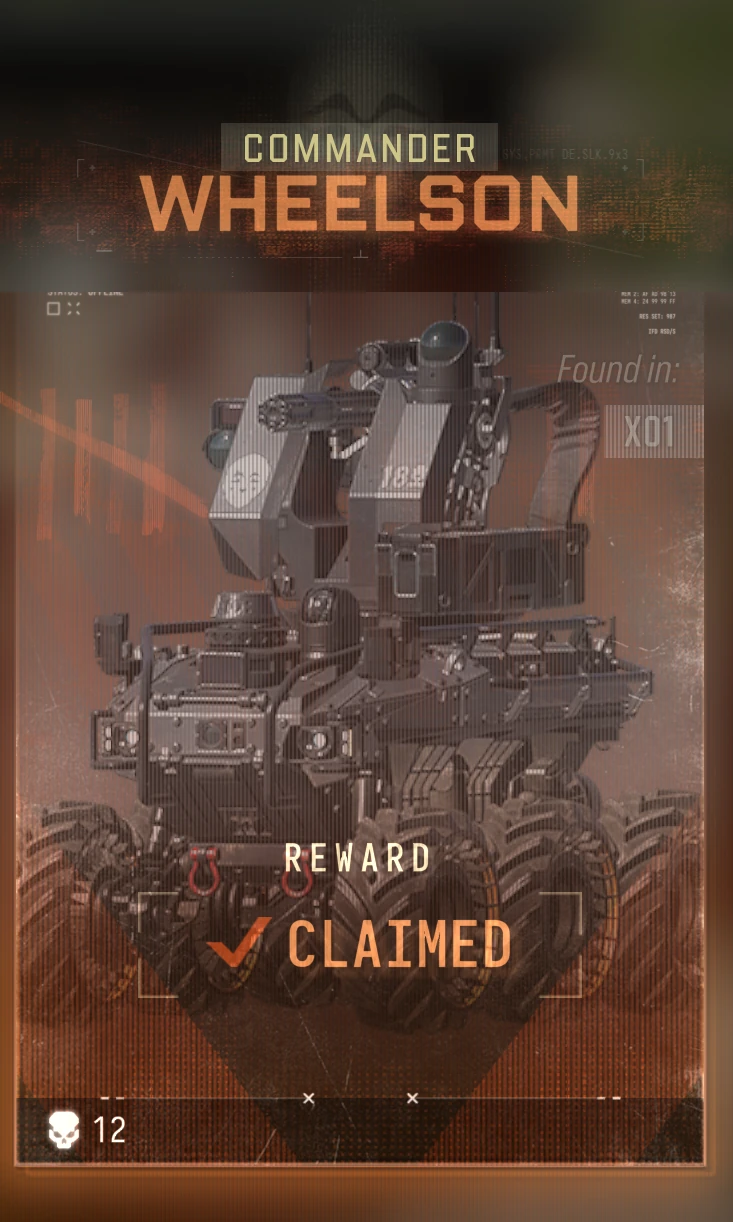
Commander · X01
Commander
Turn on a Weapon Insurance Contract at Ready Up.
Call the lift and wait for it to arrive.
Encode a blank keycard at a white kiosk in X01.
Put valuables in a Secure Slot before you take a risk.
Gear up at the Forward Operating Base, then deploy.
Turn Squad Fill on at Ready Up, or leave it off to go solo.
REWARDS FOR PG1
CHAPTER: X01 1/5

Walkthrough
Deploy into Hajin. You walk into X01 from the Hajin map.
Intel: X01 Free Roam is also listed on the FOB deployment screen. Every guide confirms the elevator route for Fresh Start.
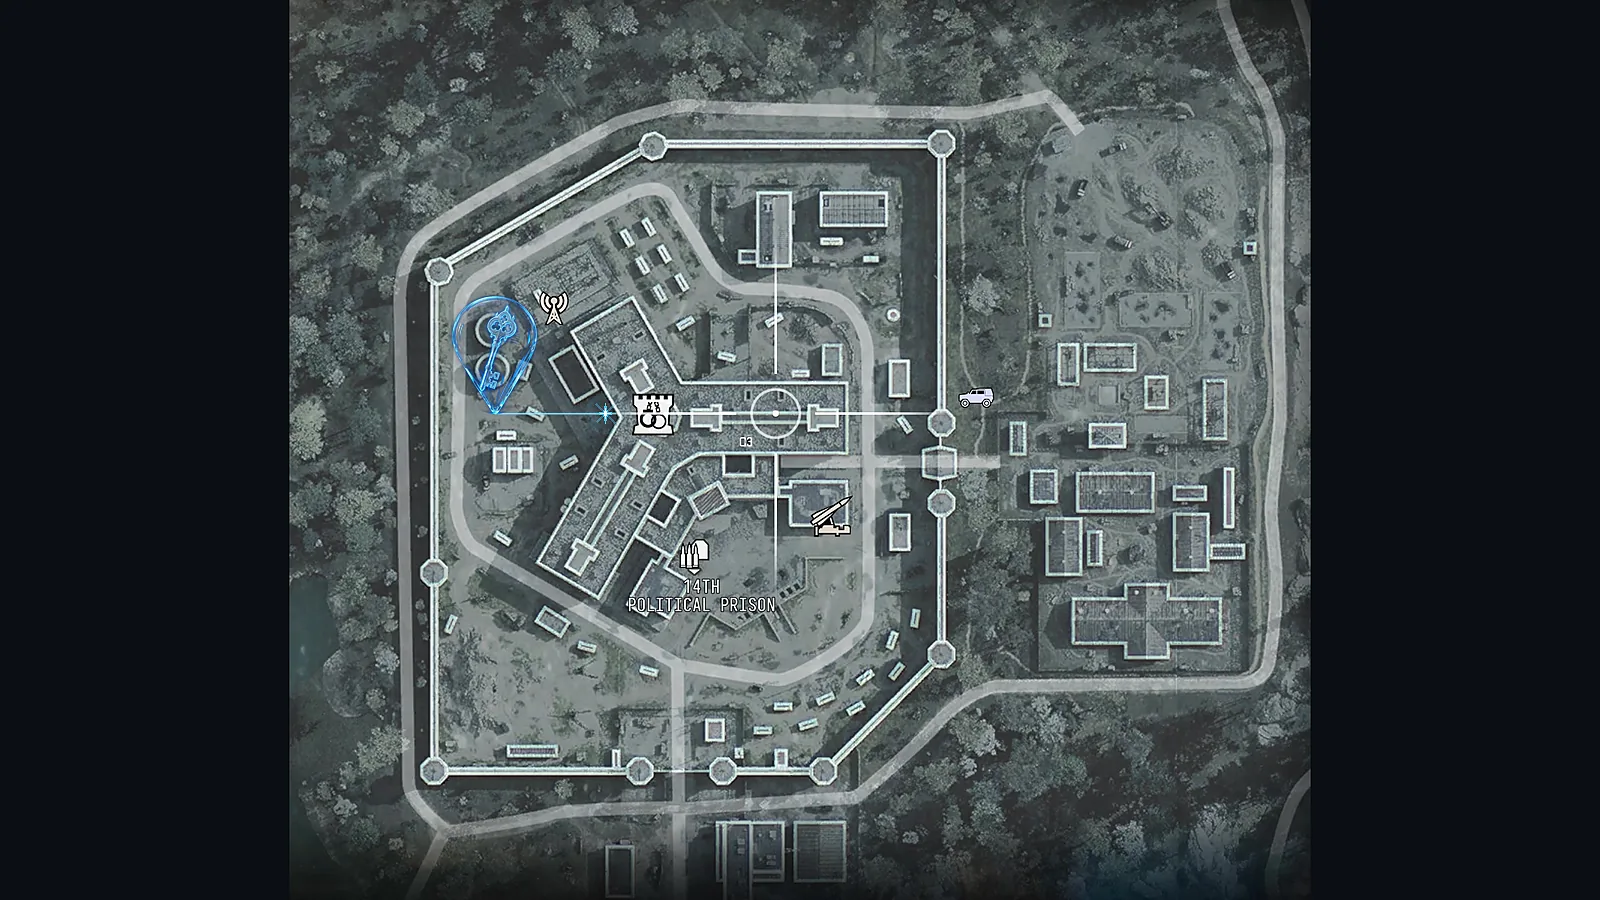
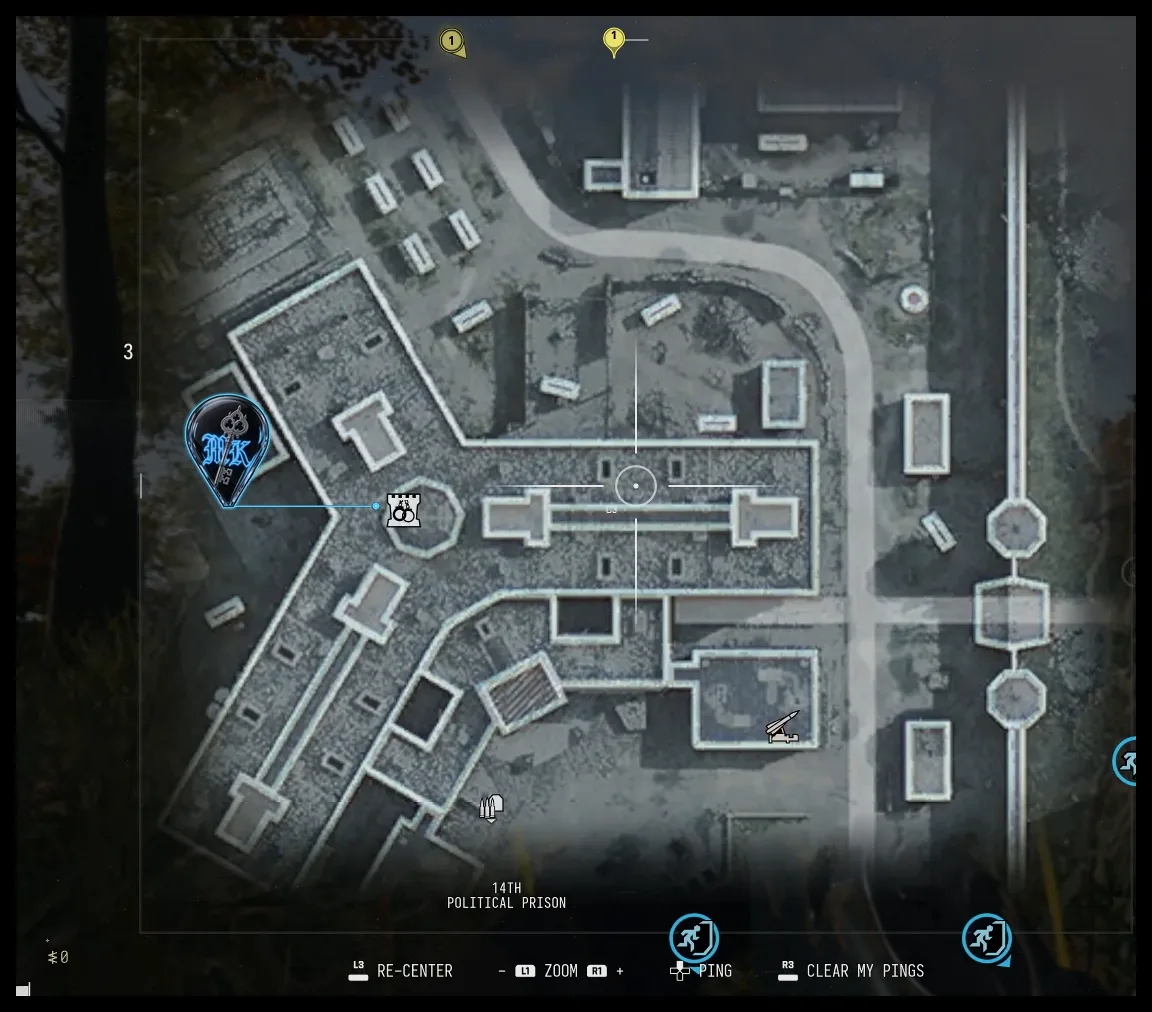
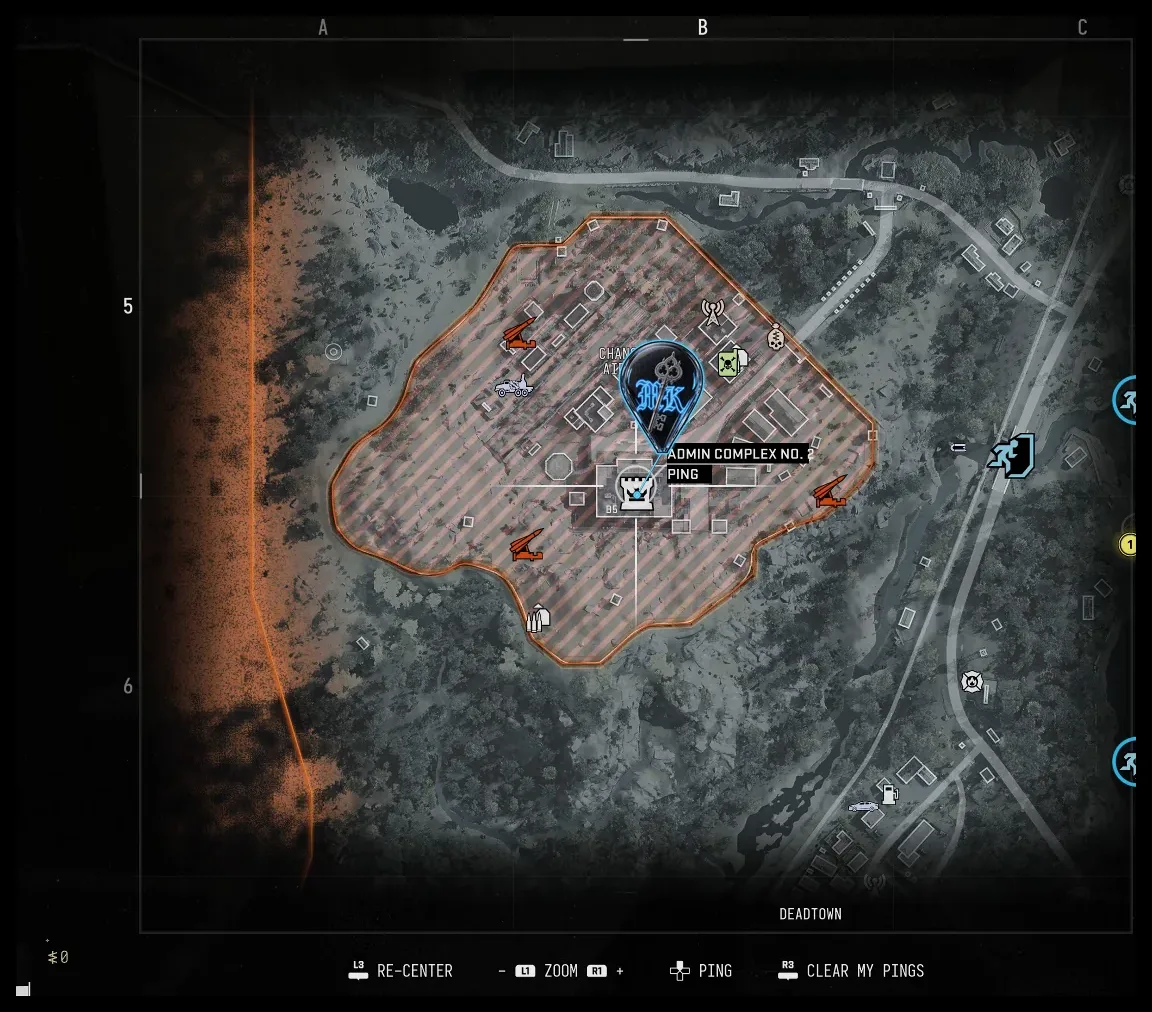
Go to the far north-west corner of Hajin, square B0 on the Tac-Map, north of the 14th Political Prison.
Press Open Door on the panel beside the abandoned elevator shaft. You need no key.
Gather your squad inside the lift and ride it down into X01.
Check Fresh Start once X01 loads: it completes on arrival.

Walkthrough
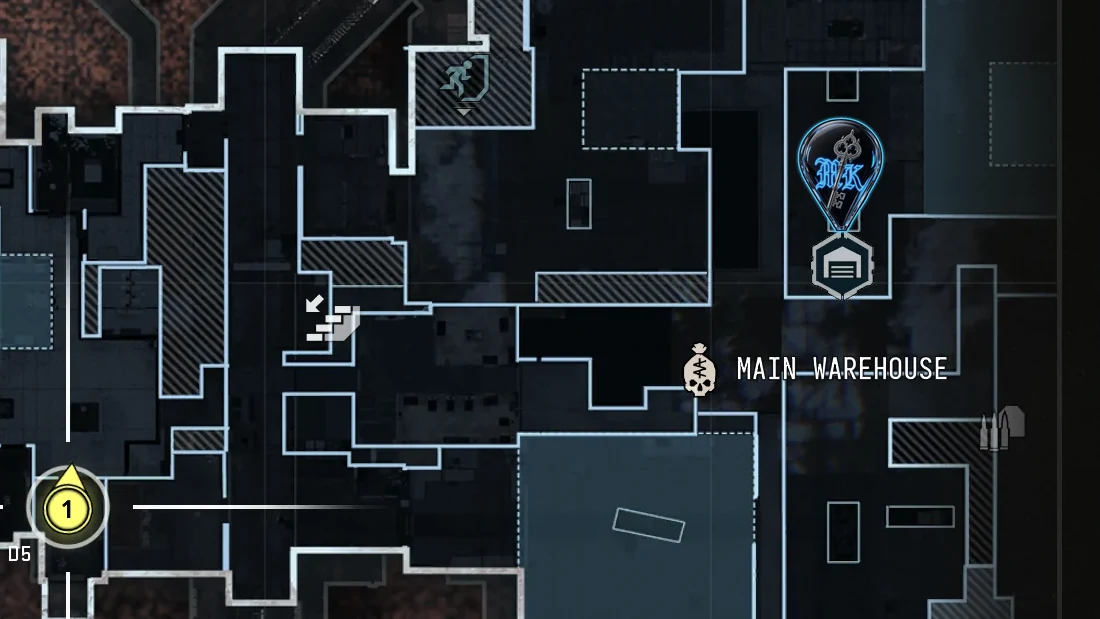
Go to the Main Warehouse.
Open 5 containers nobody has searched yet inside the Main Warehouse, and watch its counter.
Intel: Do not use the Power Generators lockers: they sit outside the Main Warehouse and do not tick its counter.
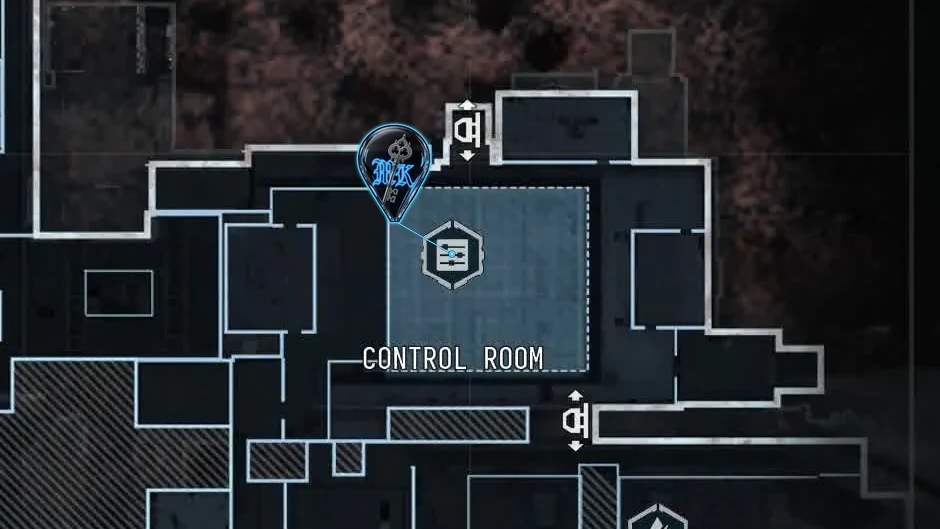
Go to the Control Room.
Open 5 unopened containers inside the Control Room. Its counter is separate from the Main Warehouse one.
Intel: Skip containers someone already opened: they do not count.

Walkthrough
Open the Tac-Map and pick an active exfil near you.
Intel: Use an Emergency Egress Shaft by the Cargo Bay or in the Medical Wing if you carry a Staff Emergency Exfil Keycard: it counts too.
Call the lift and wait for it to arrive.
Get in and stay until the extraction completes.
Intel: Do not wait outside: an activated exfil leaves in about 25-28 seconds, with or without your squad.
REWARDS FOR PG2
CHAPTER: X01 2/5

Walkthrough
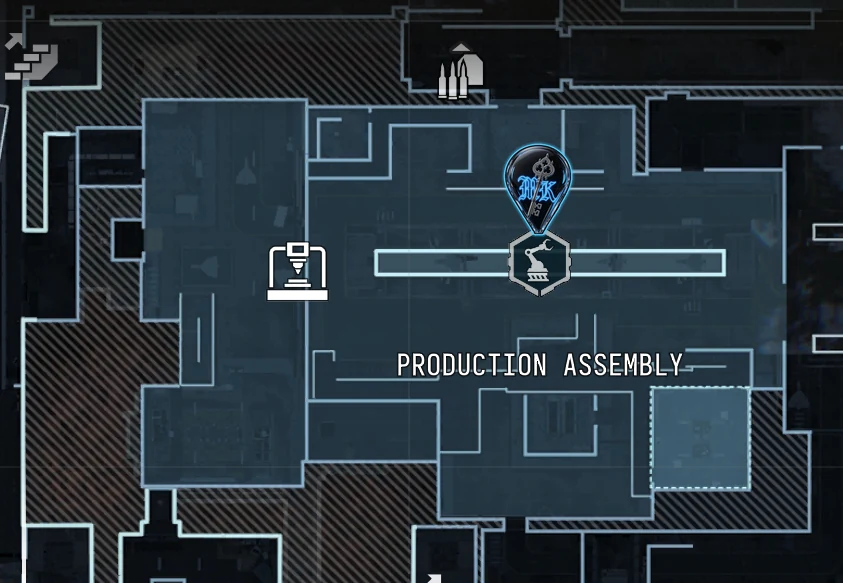
Cross the Production Assembly hall to its north side.
Intel: Pin the Order: a marker sits over the stash room until you loot it.
Take the doorway with the STAIRS sign into the small storeroom.
Move the yellow tool cart aside to open the gap behind it.
Loot the hidden stash behind the cart, then check the stash line on the Order.
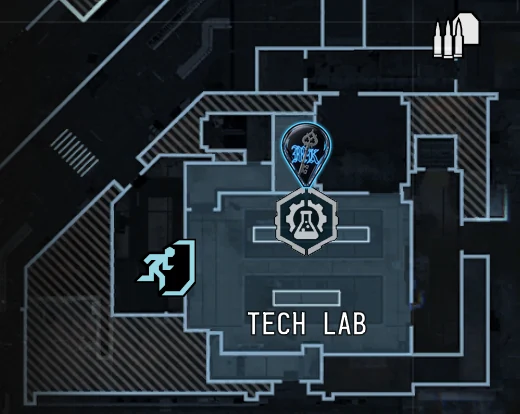
Go to the Tech Lab and open 5 unopened containers inside it.
Intel: Do not stop at the stash: Explorer also needs the 5 Tech Lab containers.

Walkthrough
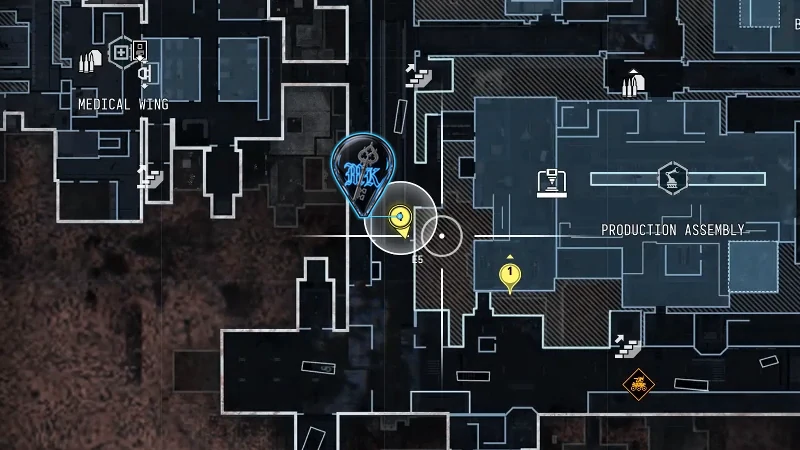
Go to the upstairs office on the west side of the Production Assembly, square E5.
Open the Print Item menu, then back out. You print nothing.
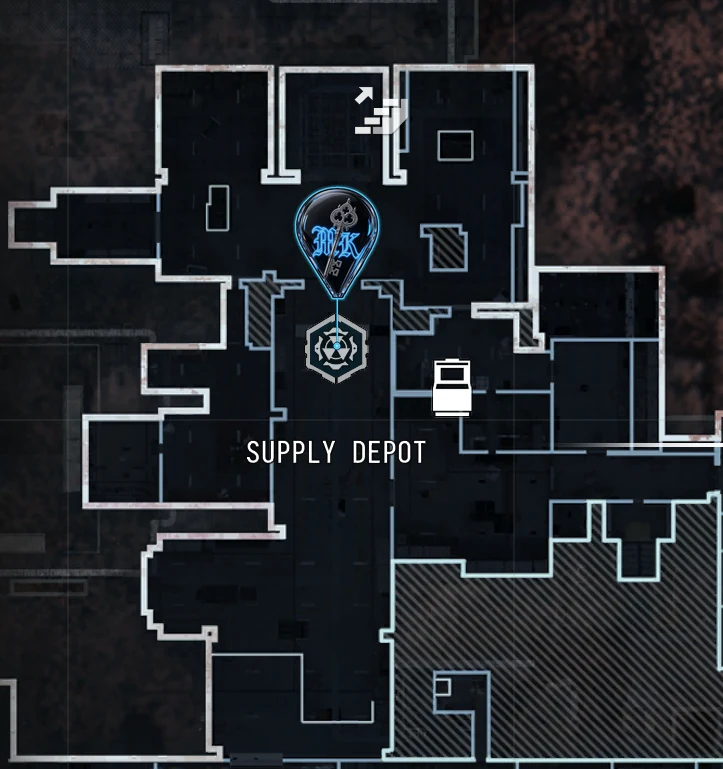
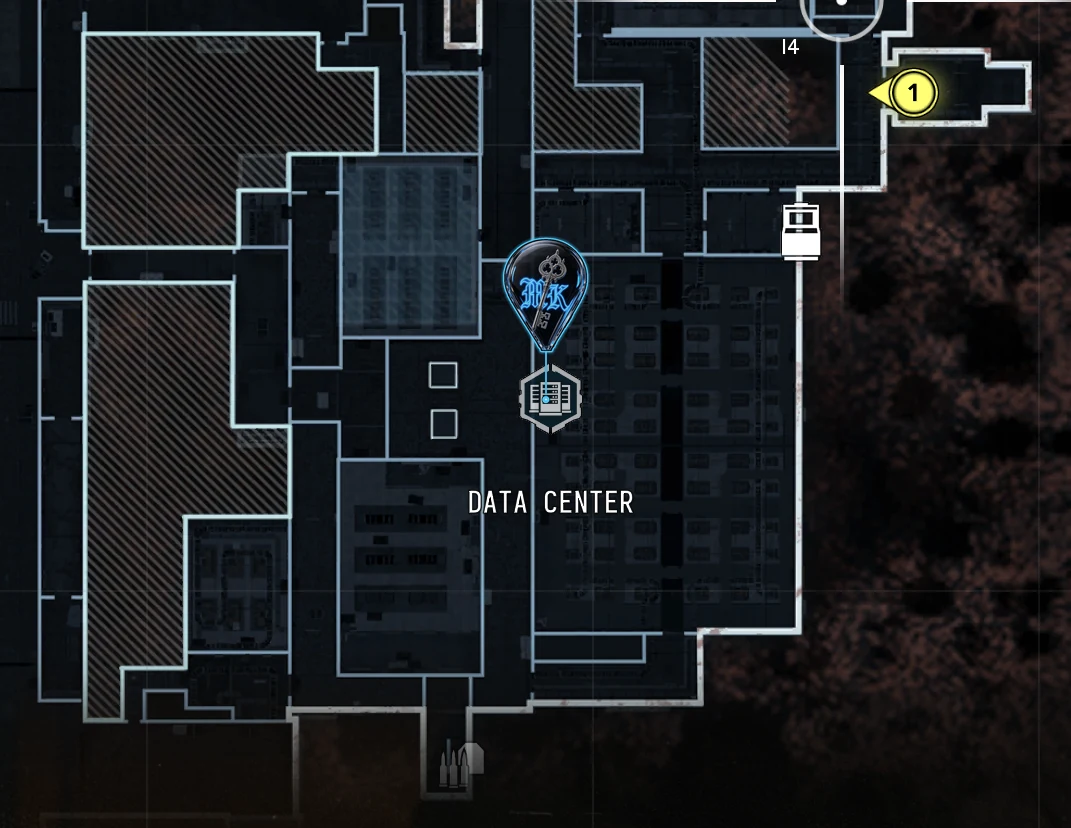
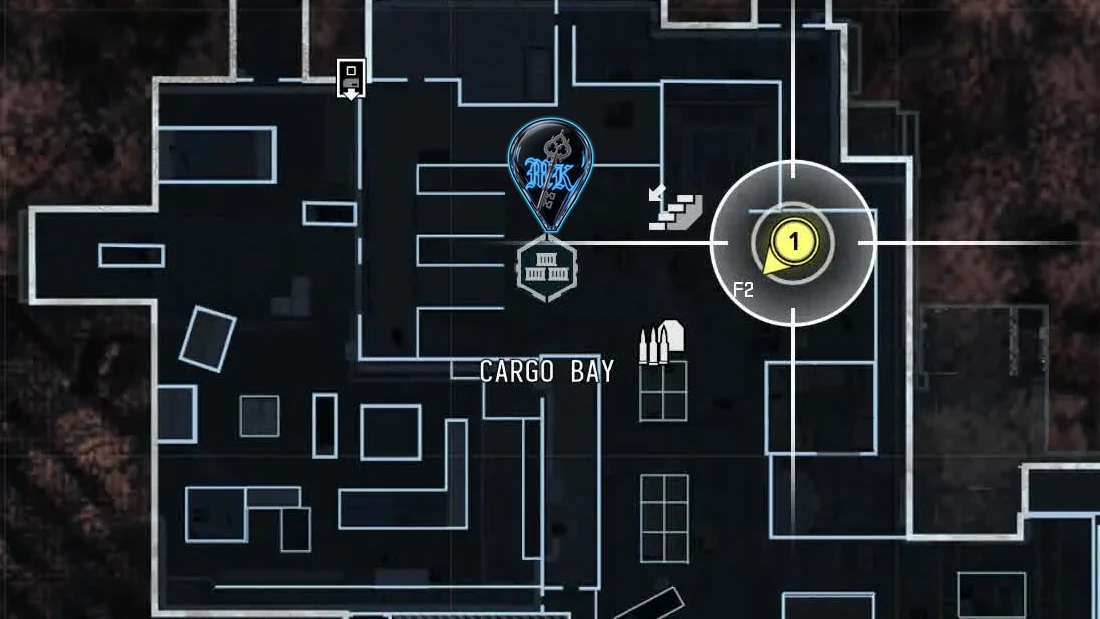
Go to the Keycard Encoder Station in a small room on the east side of the Supply Depot (F2), or the one on the east edge of the Data Center (I5).
Interact with Encode Keycard. You need no keycard for the Order.

Walkthrough
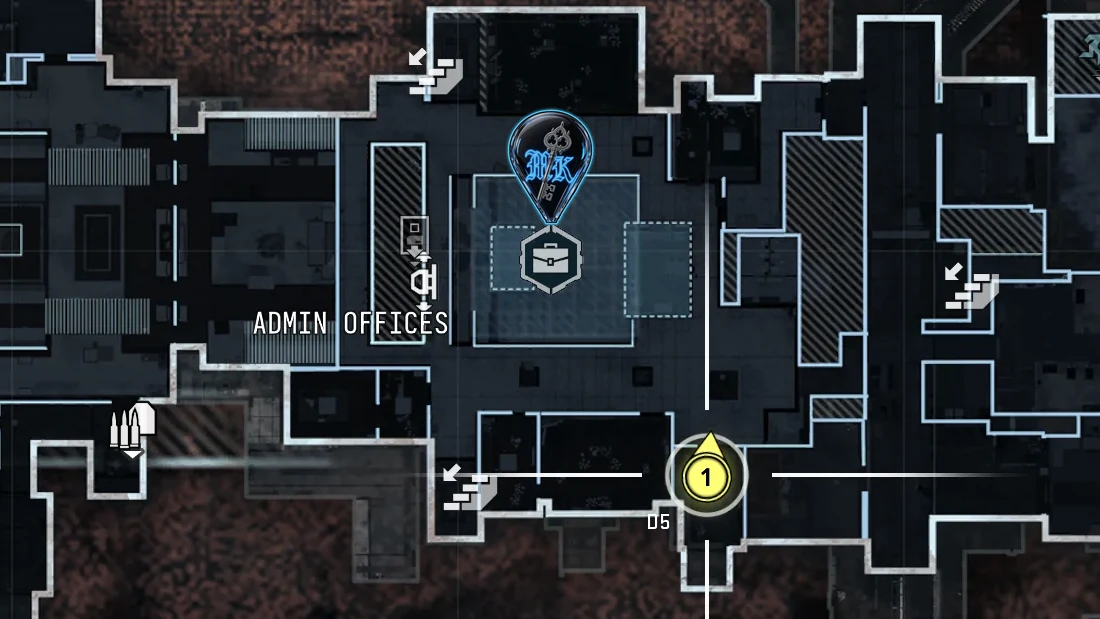
Go to the Admin Offices.
Find the dark blue surveillance room with server racks and wall screens showing Ri.
Hold interact on Search for Original Ri Video Copy at the console.
REWARDS FOR PG3
CHAPTER: X01 3/5

Walkthrough
Go to the Control Room.
Hold interact on Intercept Ri Video Feed at the console under the big Ri screen.
Kill 10 enemies inside the Control Room.
Intel: Count on your squad: their kills inside the room tick the counter too. Do not chase kills into the corridors: only kills inside the Control Room count.
Walkthrough
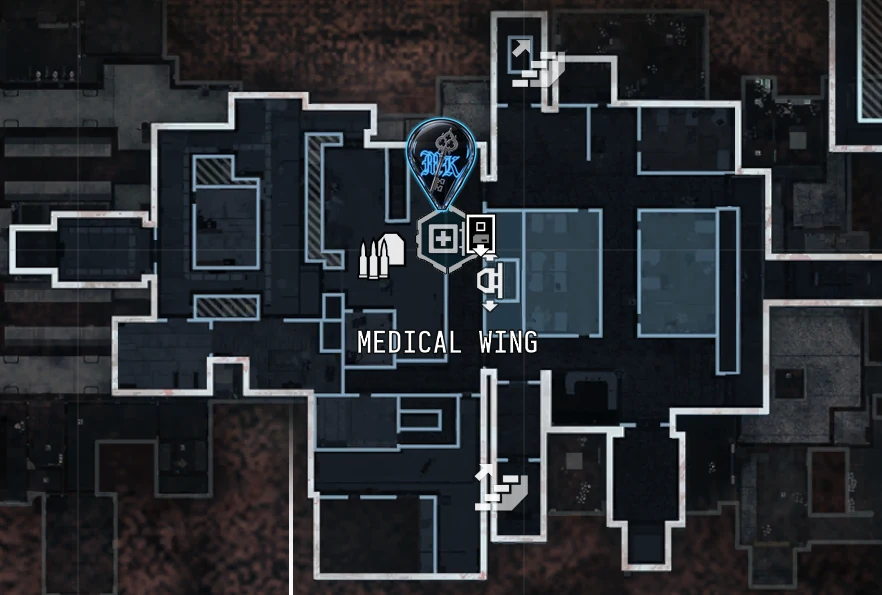
Go to the Medical Wing.
Hold interact on Intercept Ri Video Feed at the marked spot.
Pick up 10 healing items, such as Bandages, inside the Medical Wing. You do not need to use them.

Walkthrough
Go to the lower part of the Data Center.
Hold interact on Extract Ri Video Log at the marked console.
Kill 3 Robot Dogs anywhere in X01.
Intel: Check the Order before you exfil: it ticks without extraction.
REWARDS FOR PG4
CHAPTER: X01 4/5

Walkthrough
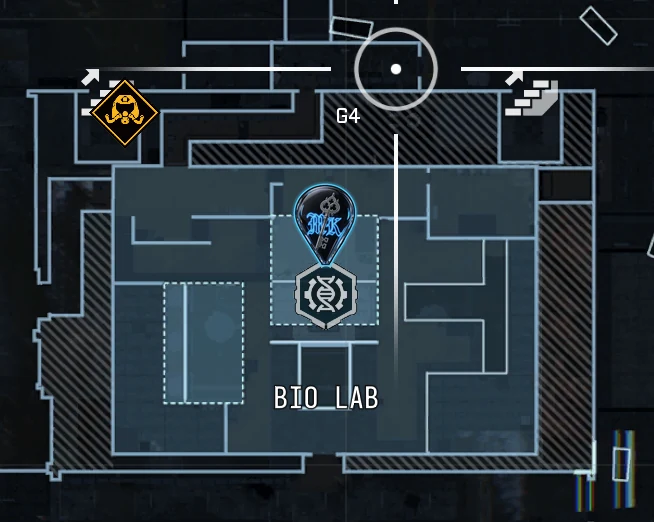
Go to the Bio Lab, square F4 on the X01 Tac-Map, on the Data Center floor.
Enter the canister chamber inside the Bio Lab.
Interact with the canister on the wall of the chamber to override the release procedure.

Walkthrough
Search X01 for The Captain. He moves around, so start your sweep at the Main Warehouse and the Logistics Tunnel.
Kill The Captain.
Intel: Expect a Juggernaut with his own elite guard. Stay away from The Captain when you're downed. He executes downed Operators who crawl near him.
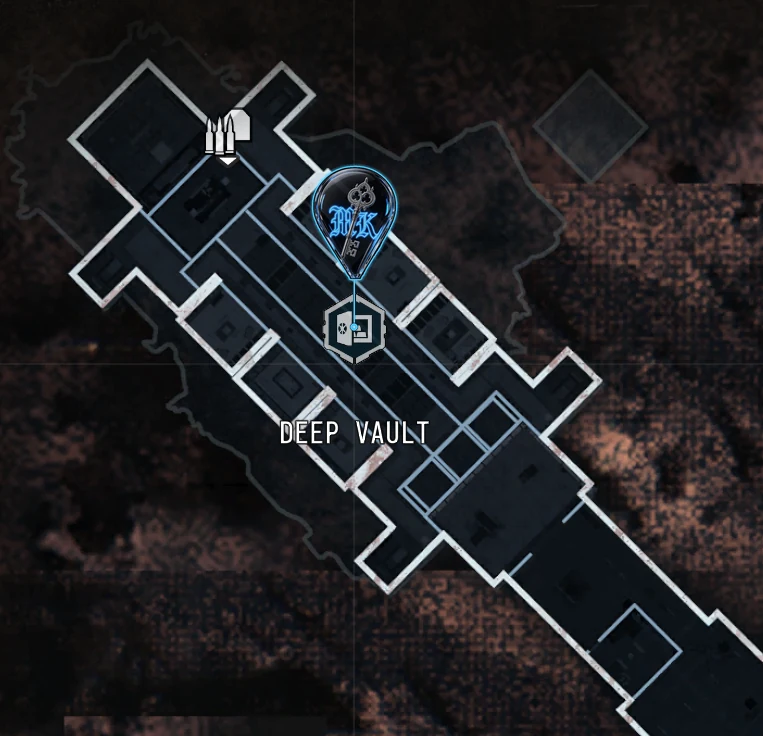
Pick up the X01 Vault Access Keycard by his body. It is a Legendary Deep Vault keycard with a room number on the end. The kill and the pickup are two separate objectives, so check both.
Intel: Keep the card: it opens the Deep Vault gate for Complete Defusal without being used up.

Walkthrough
Finish The Vault first and carry the X01 Vault Access Keycard into the match.
Use the card on the Deep Vault gate at C2, on the Data Center floor.
Go to the control terminal on the upper level and start the Core Room unlock. Since the November 7 patch the Core Room unlock needs power before it will start. A numbered Deep Vault keycard powers its own room and is used up at that door. The Deep Vault gate itself does not consume the card.
Hold the area while the Unlocking Core Room progress bar fills.
Intel: Expect waves of tough enemies while the Core Room unlocks.
Enter the Core Room once it shows as unlocked.
Intel: Take the Argonaut Armor inside the Core Room.
Use the computer on the glass case in the middle of the Core Room to neutralize the bioweapon.
Intel: Do not stop at opening the Core Room: the neutralize interaction is its own objective.
Kill Blix inside the Deep Vault for the third objective. Watch for him once the Core Room opens.
Force open the side shaft doors, climb the rope, and pull the switch beside the gate to get back out of the vault.
Intel: Do not treat leaving the vault as extraction: you still need an exfil out of X01. Carry a Staff Emergency Exfil Keycard: it opens the Emergency Egress Shaft in the Medical Wing.
REWARDS FOR PG5
CHAPTER: X01 5/5
Walkthrough
Go to the Logistics Tunnel and find the Wheelson.
Destroy the Wheelson.
Intel: Hit it with a DDoS or a Shock Stick: since the November 7 update its turrets stop turning while it is disabled.
Pick up the Remote Module from the wreck. You need it for the power controls.
Intel: On an 11 Nov 2026 run in the Logistics Tunnel, the card read MISSION, REMOTE MODULE, MISSION ITEM, COLLECT.
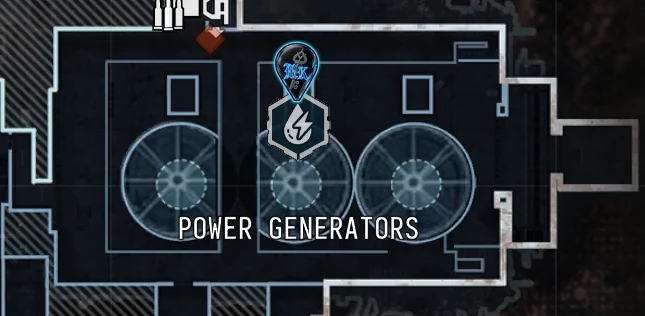
Take the Remote Module to the Power Generators and shut down the local console.
Intel: After the pickup, the HUD reads SHUT DOWN THE LOCAL CONSOLE, and Side-ops reads Shut Down the Local Console.
Go up to the power panel on the top floor of the Power Generators and turn off the power supply.
Intel: Run Water Wading in the same match: it needs the power off. Do not let go of the wheel at the bottom-floor exfil gate while your squad runs through: the door shuts as soon as you release it.

Walkthrough
Finish Door Opener first: the flooded barracks need the power off.
Go to the Supply Depot and take the stairs by the green light down into the flooded barracks.
Move carefully along the flooded passage past the laser tripwires.
Use the panel at the far end of the passage to turn off the lasers.
Go back along the passage into the room on the left and pick up the Super User Data Access Keycard.
Extract from X01 with the card in your backpack.
Intel: Do not die with the card: the Order completes only when you extract with it.

Walkthrough
Go to the Data Center and find the dark room behind the long dark glass wall.
Intel: Bring night vision: the server room is unlit. Expect Knuckle, Lieutenant Tae-Hyun, behind a riot shield in the dark server room.
Hold interact on Download Source Code at each of the 3 marked panels until it finishes.
Extract from X01 in the same match.
Intel: Do not split it across runs: the downloads and the extraction must happen in one match.
REWARDS FOR PG1
PG1


REWARDS FOR PG2
PG2


REWARDS FOR PG3
PG3


REWARDS FOR PG4
PG4 · CH. COUNTERFEIT 1/2


REWARDS FOR PG5
PG5 · CH. COUNTERFEIT 2/2


REWARDS FOR PG6
PG6


REWARDS FOR PG7
PG7 · CH. UNDERGROUND 1/2


REWARDS FOR PG8
PG8 · CH. UNDERGROUND 2/2


REWARDS FOR PG9
PG9


REWARDS FOR PG10
PG10 · CH. HUMAN INTEL 1/2


REWARDS FOR PG11
PG11 · CH. HUMAN INTEL 2/2


REWARDS FOR PG12
PG12


REWARDS FOR PG13
PG13


REWARDS FOR PG14
PG14 · CH. HORNET'S NEST 1/2


REWARDS FOR PG15
PG15 · CH. HORNET'S NEST 2/2


REWARDS FOR PG16
PG16


REWARDS FOR PG17
PG17


REWARDS FOR PG18
PG18 · CH. THE GRID 1/2


REWARDS FOR PG19
PG19 · CH. THE GRID 2/2


REWARDS FOR PG20
PG20


REWARDS FOR PG21
PG21


REWARDS FOR PG22
PG22


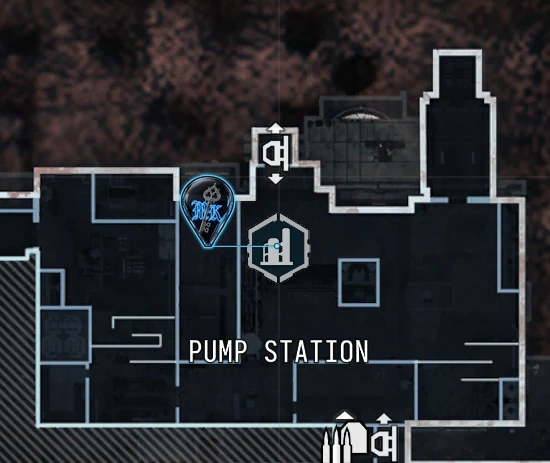
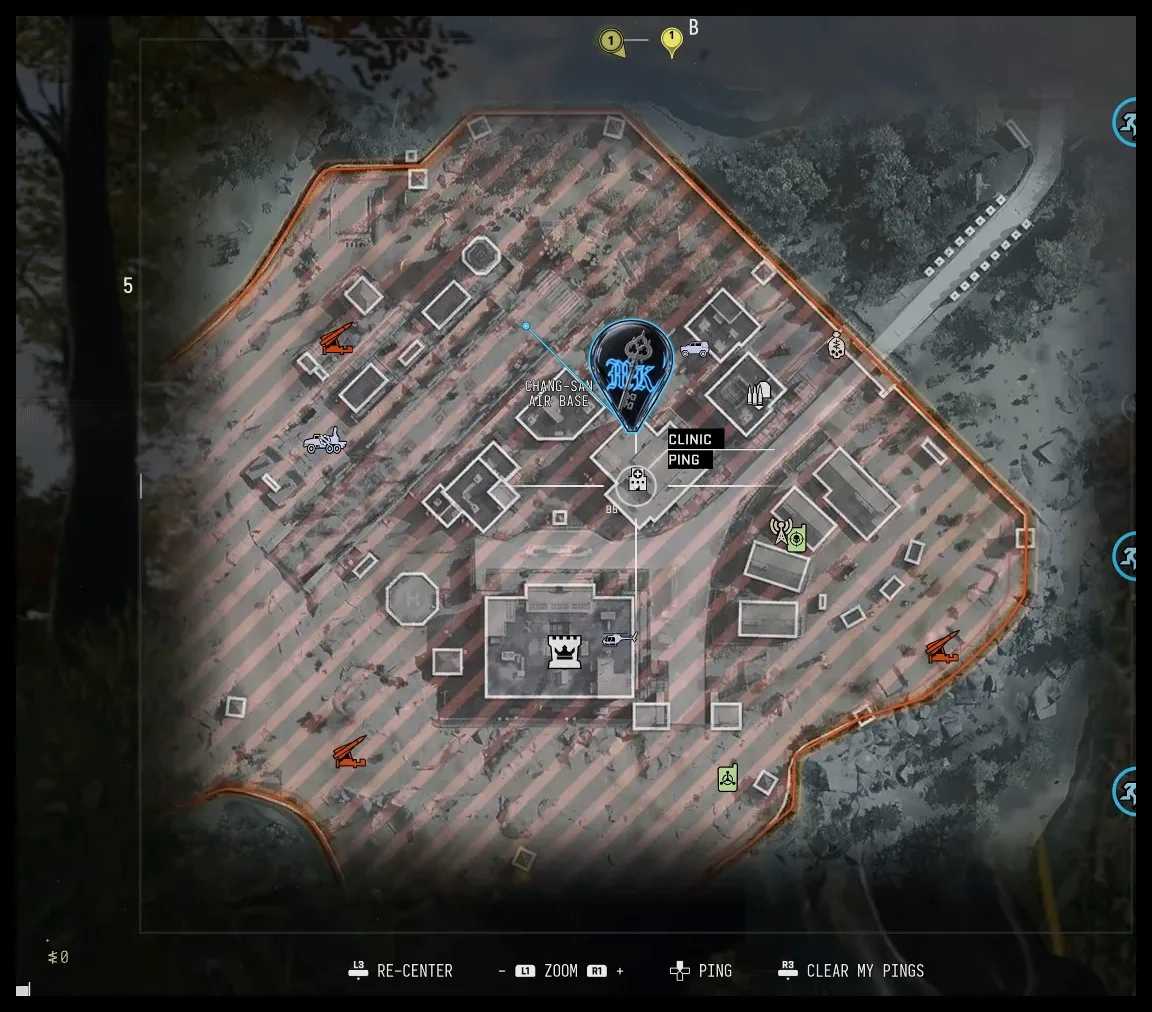
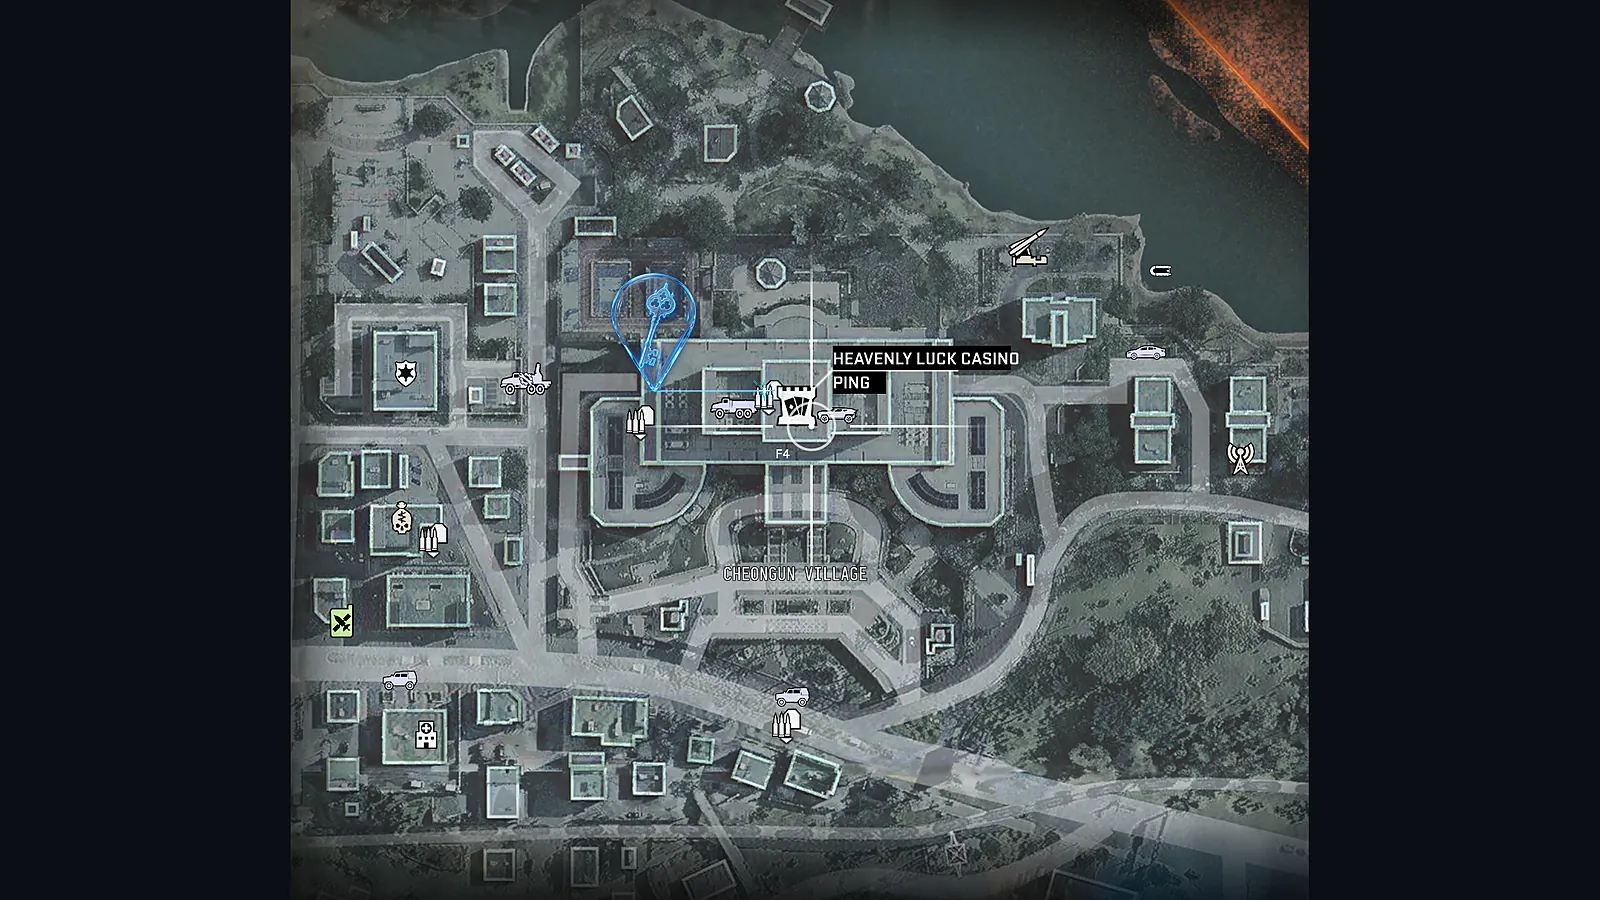
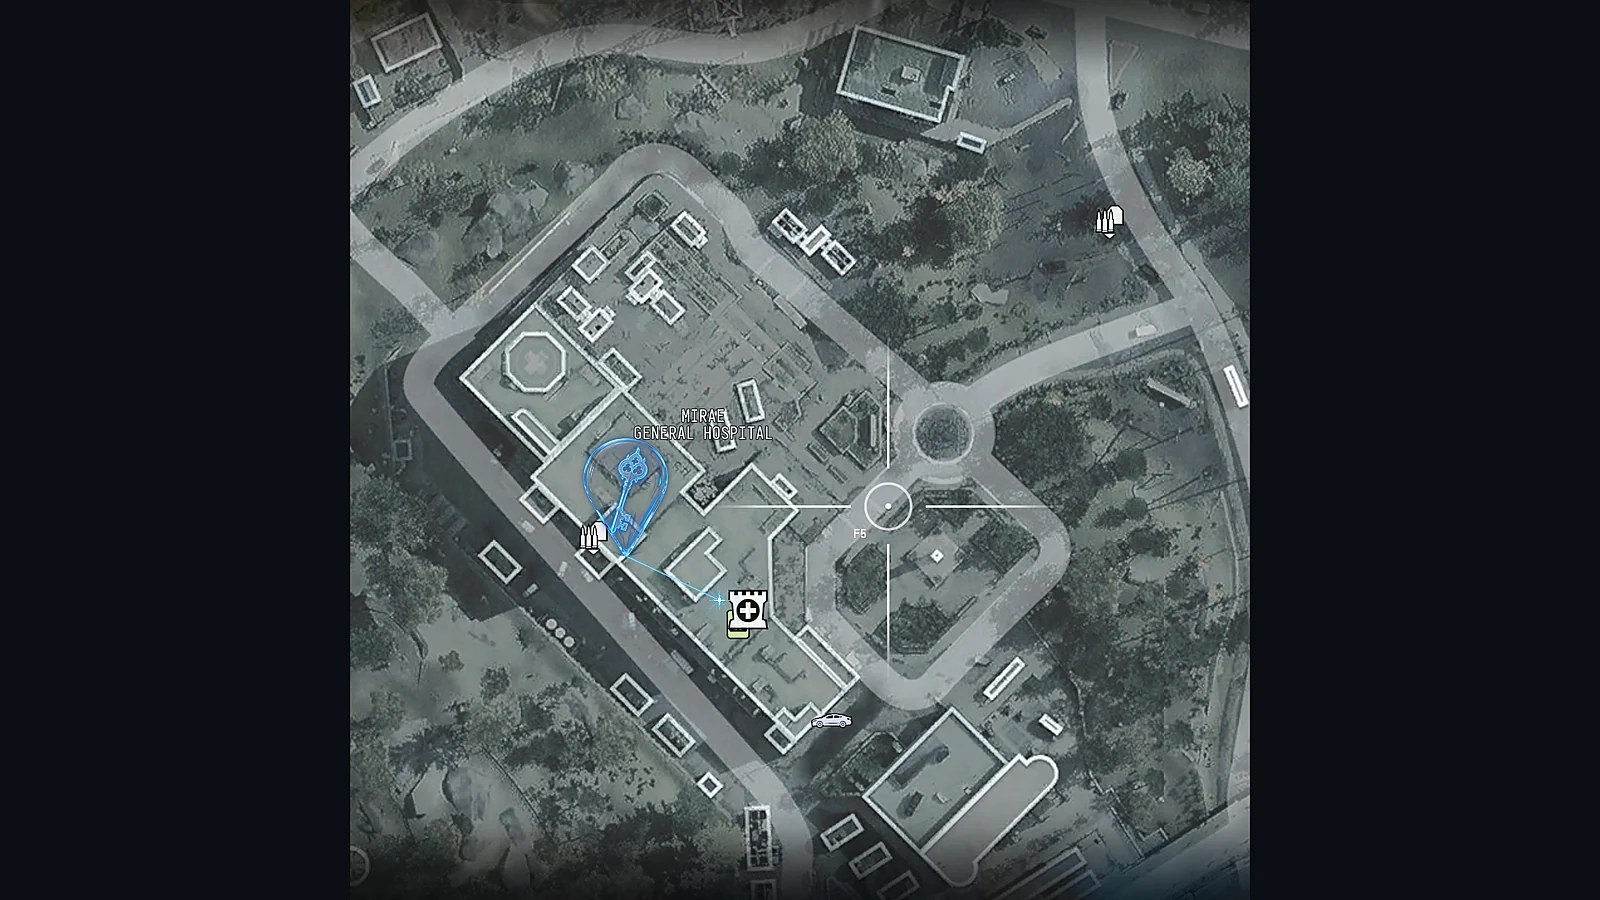
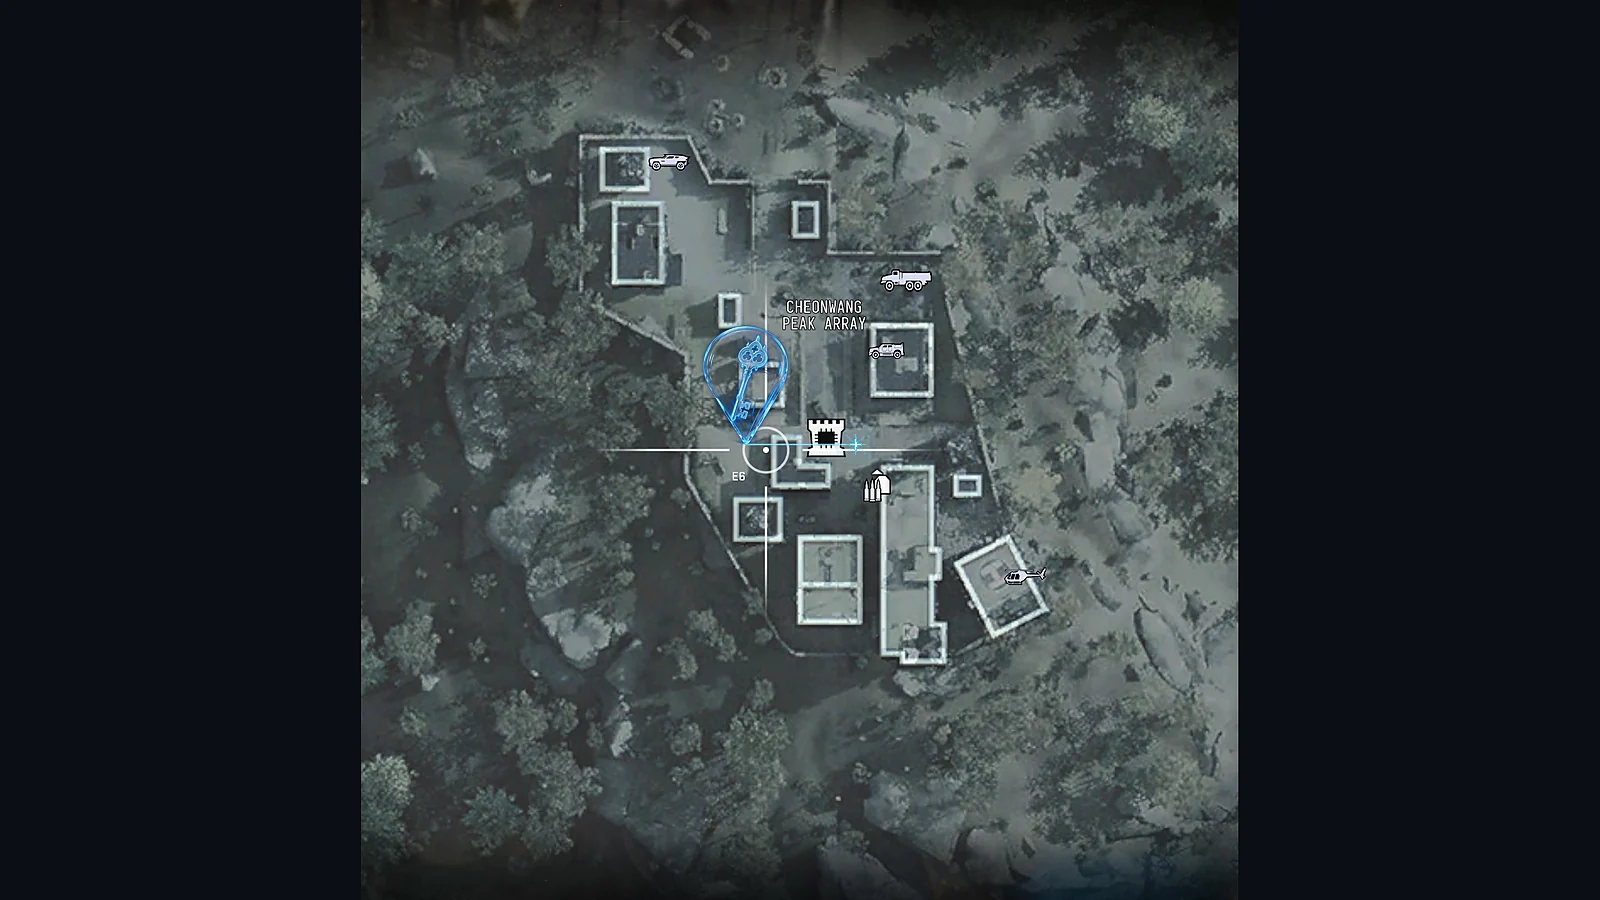
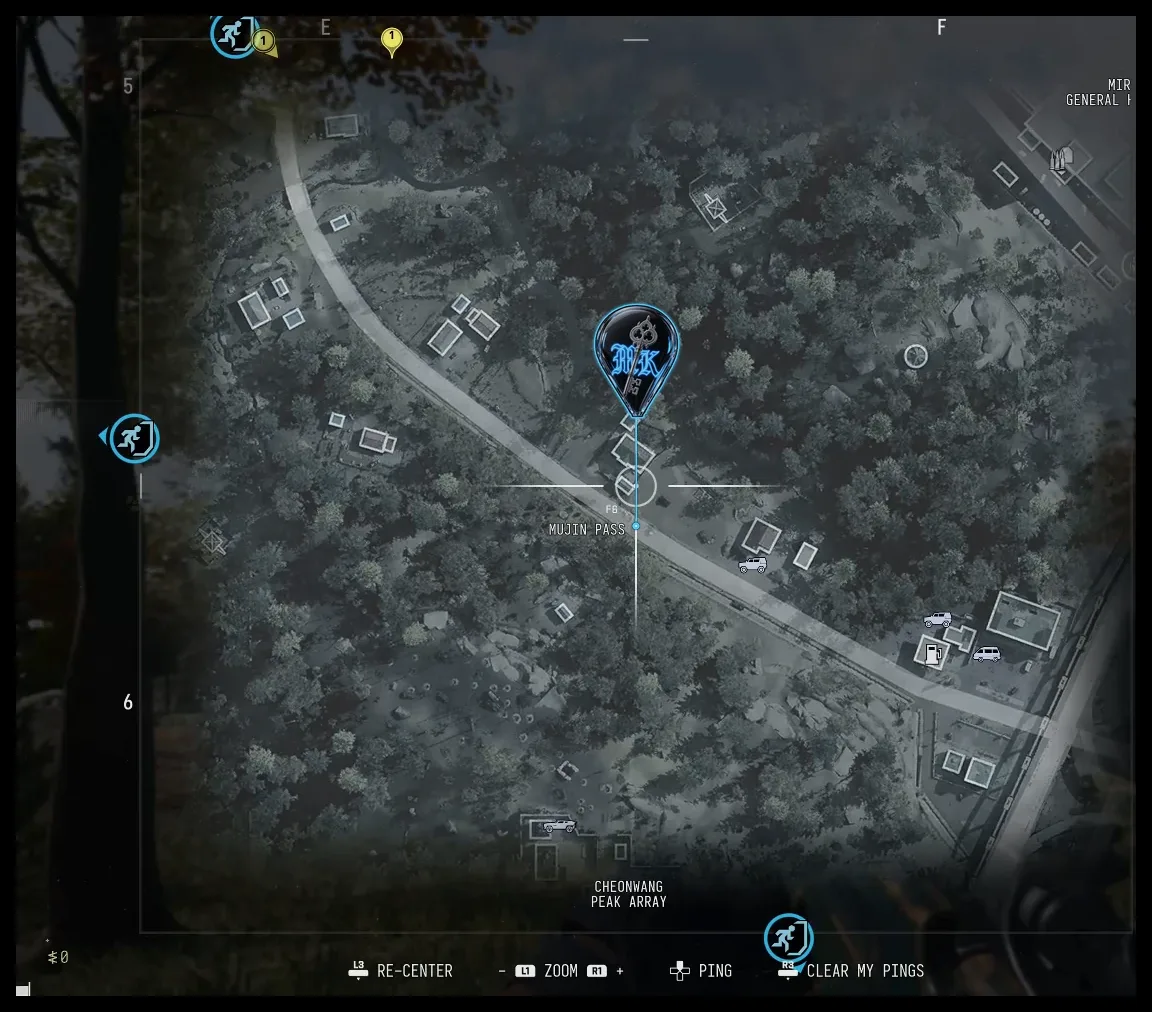
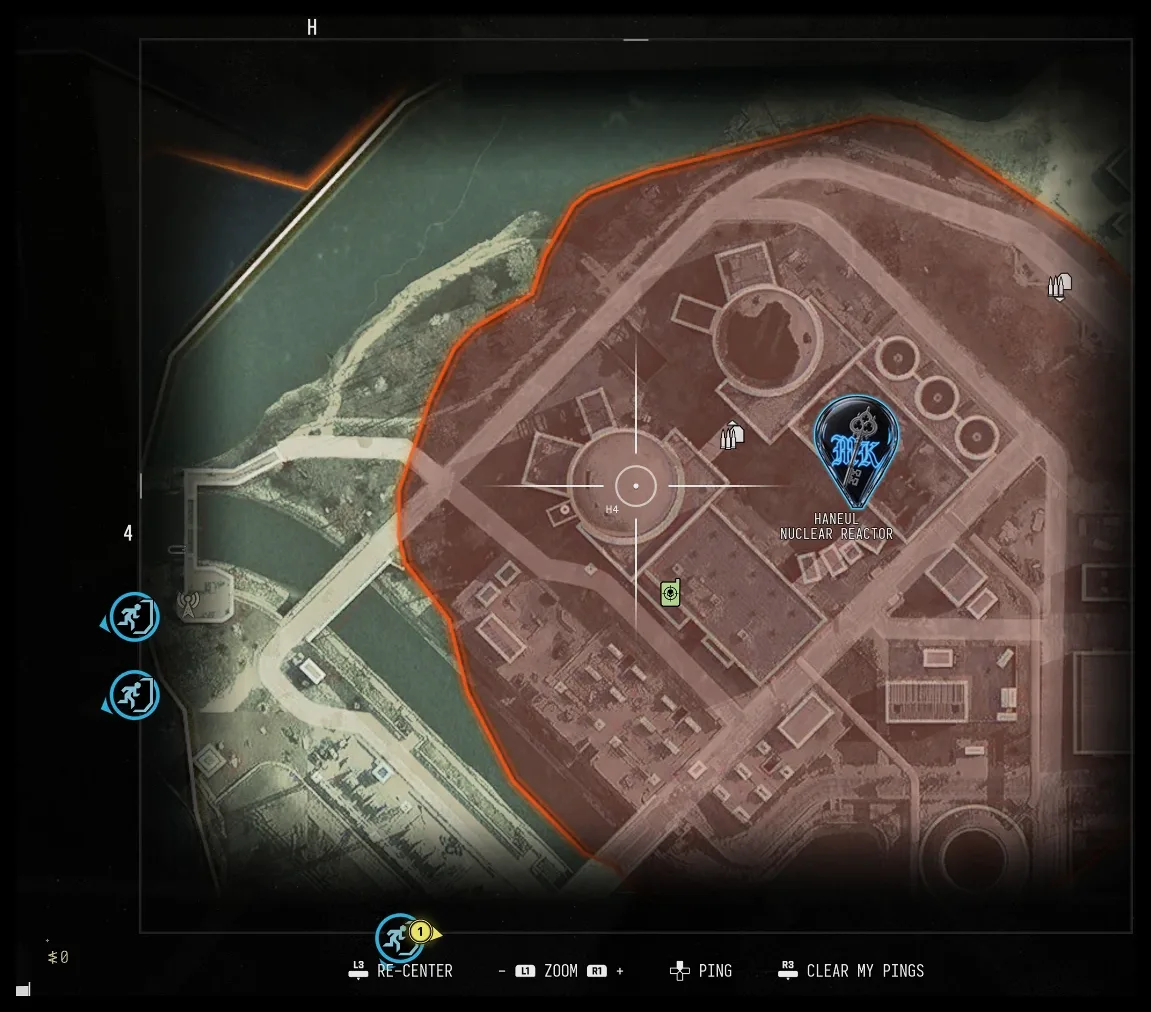
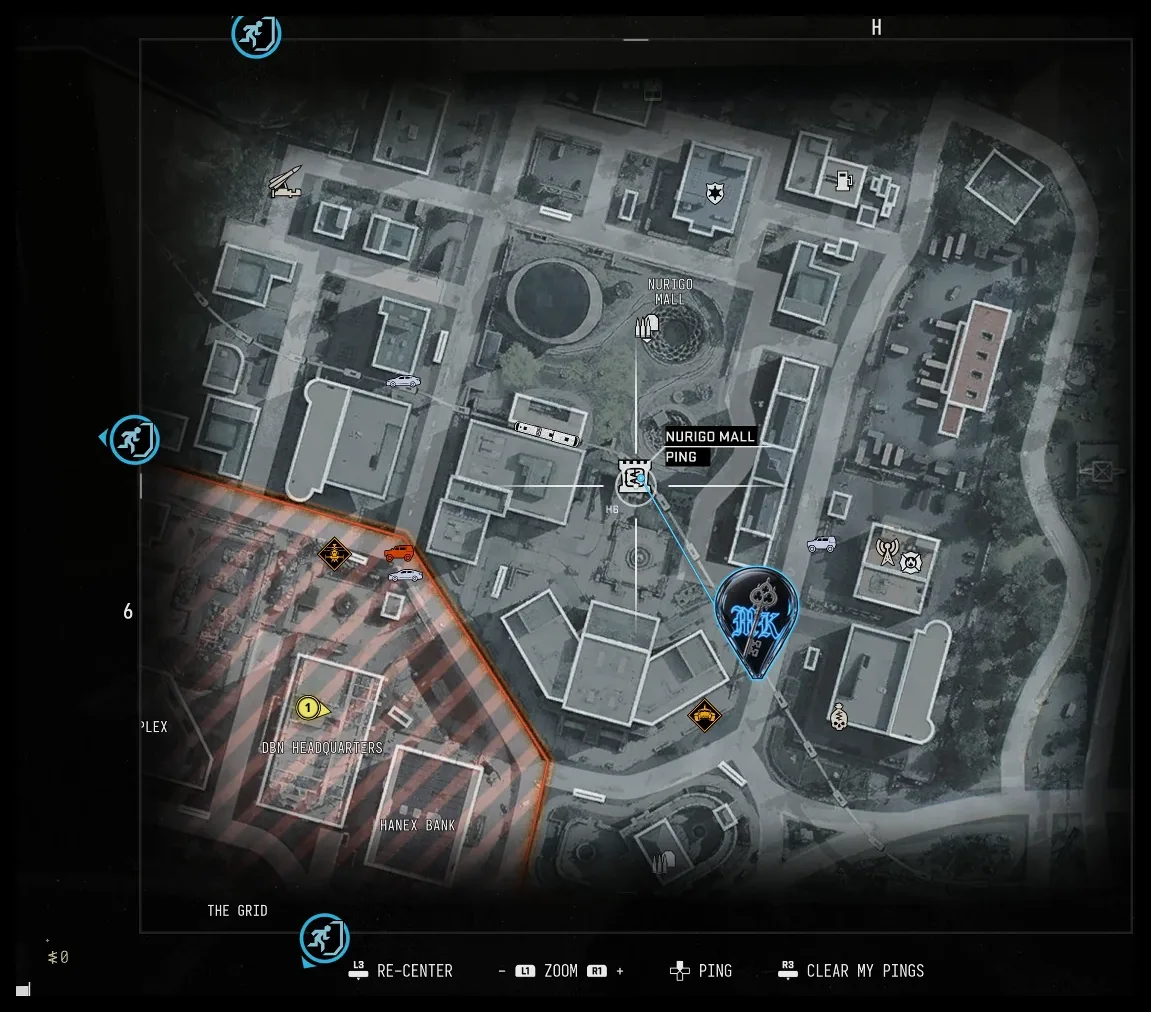
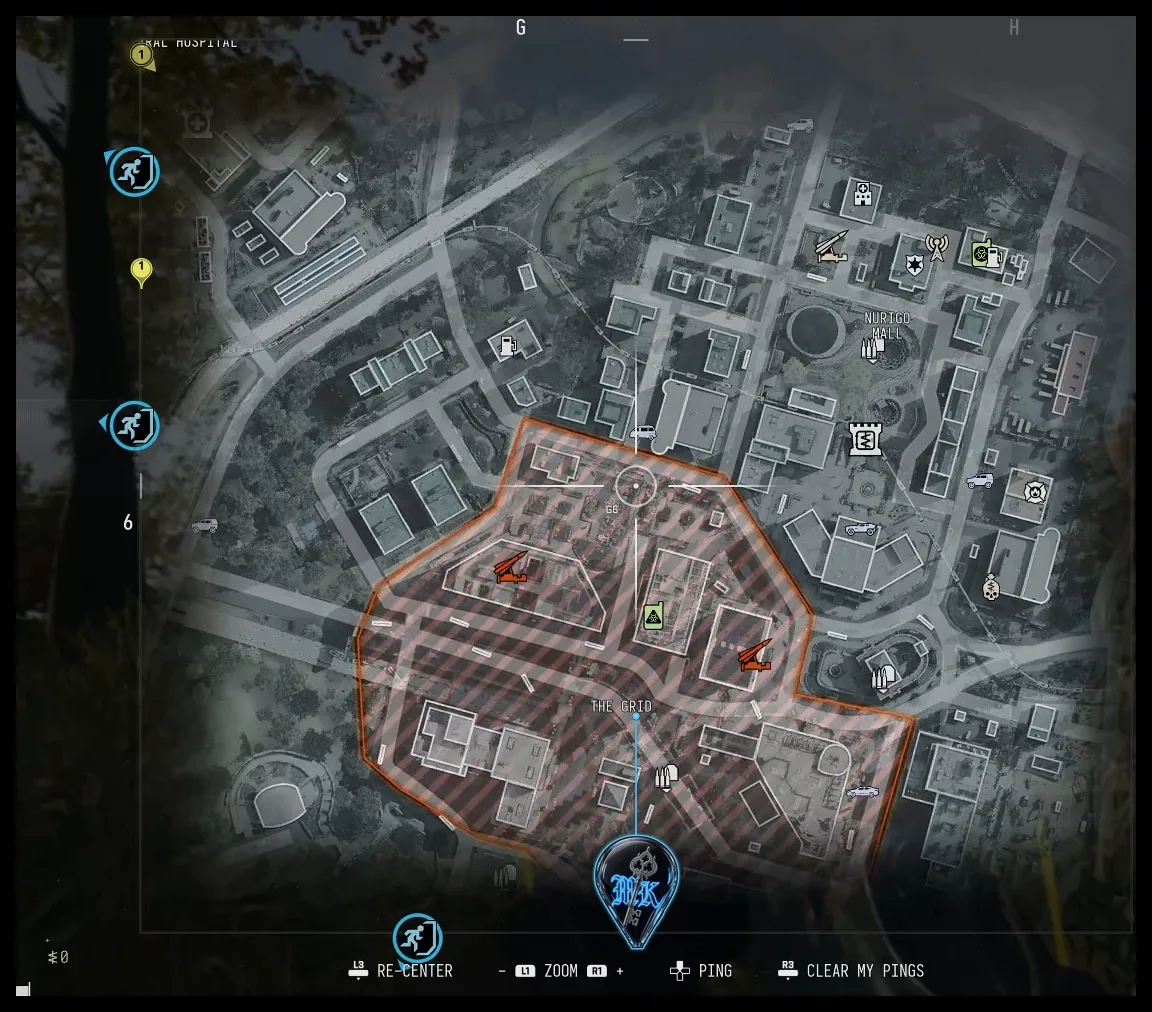
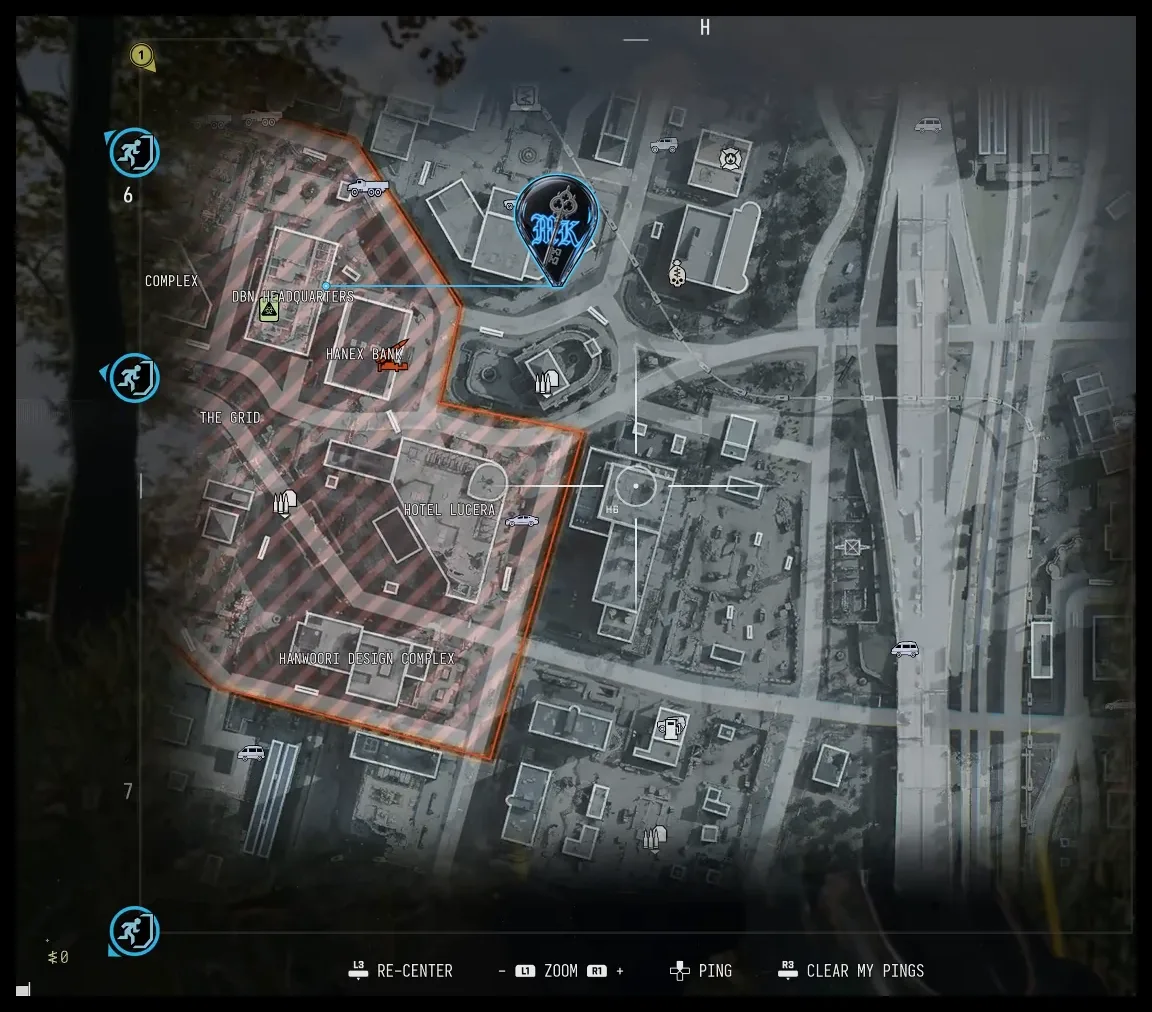
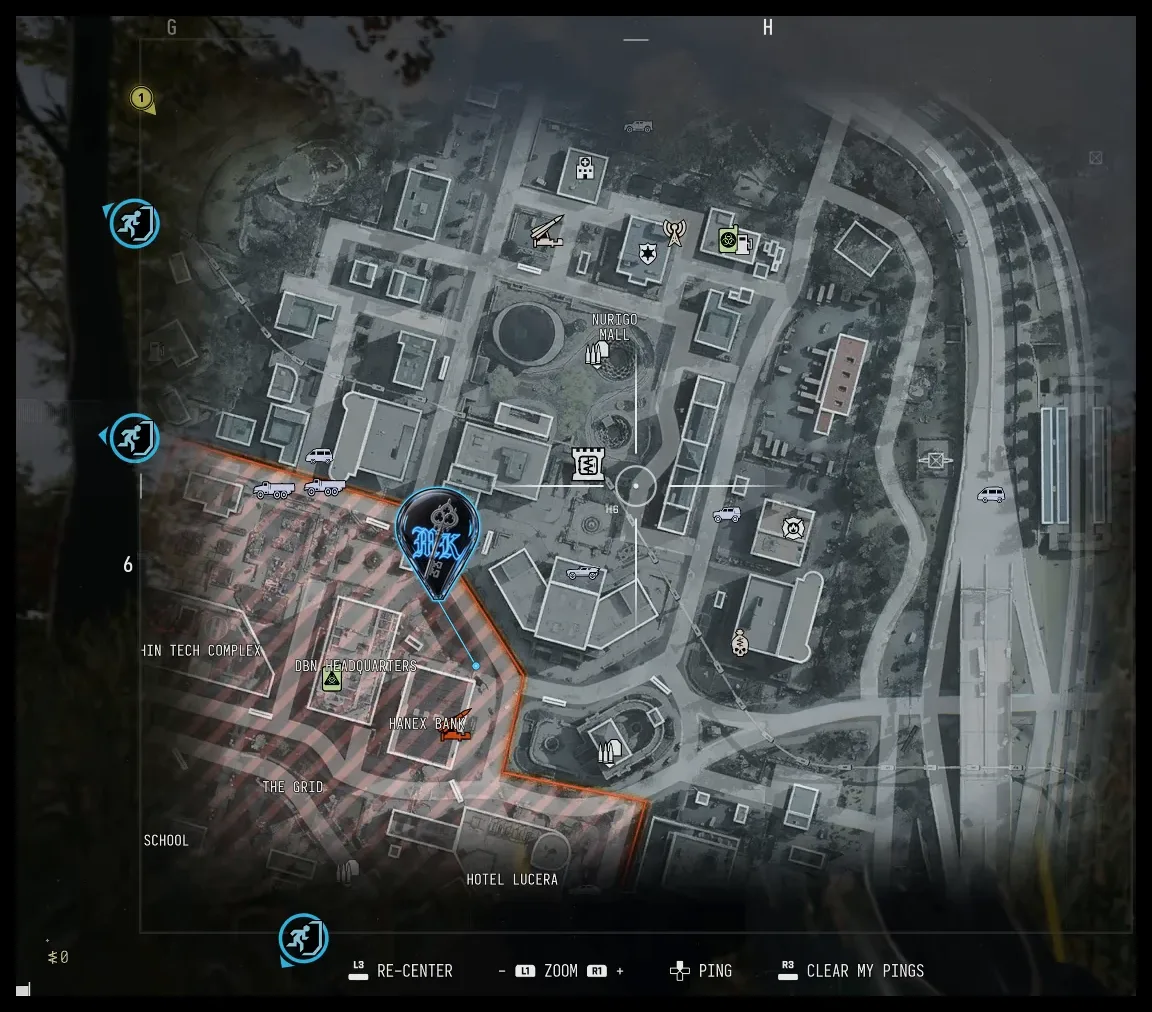
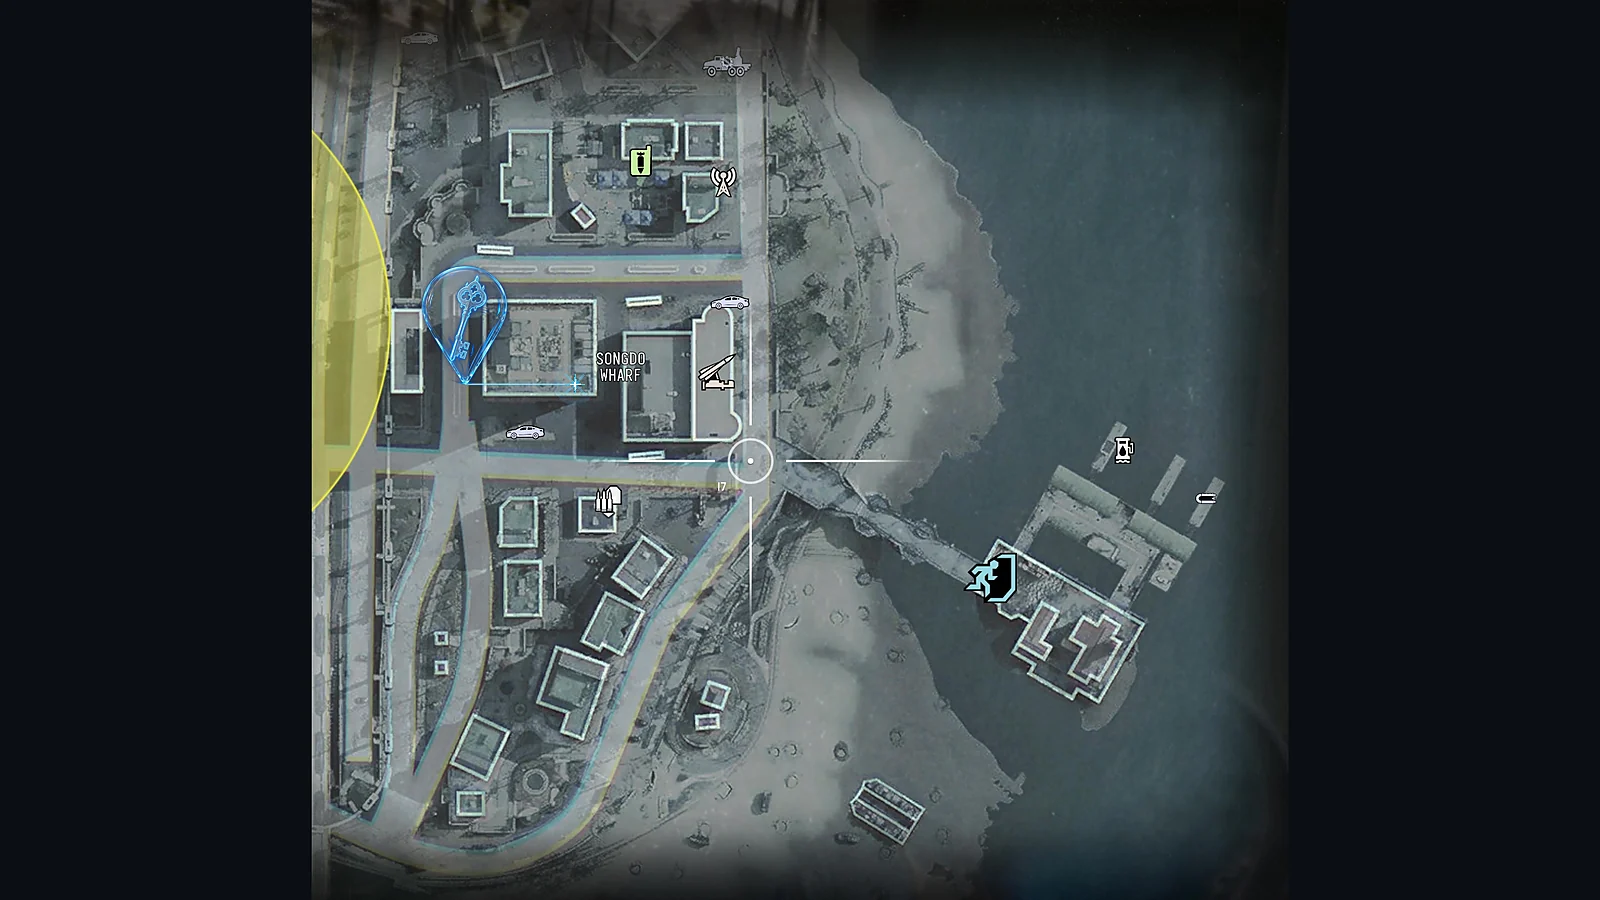
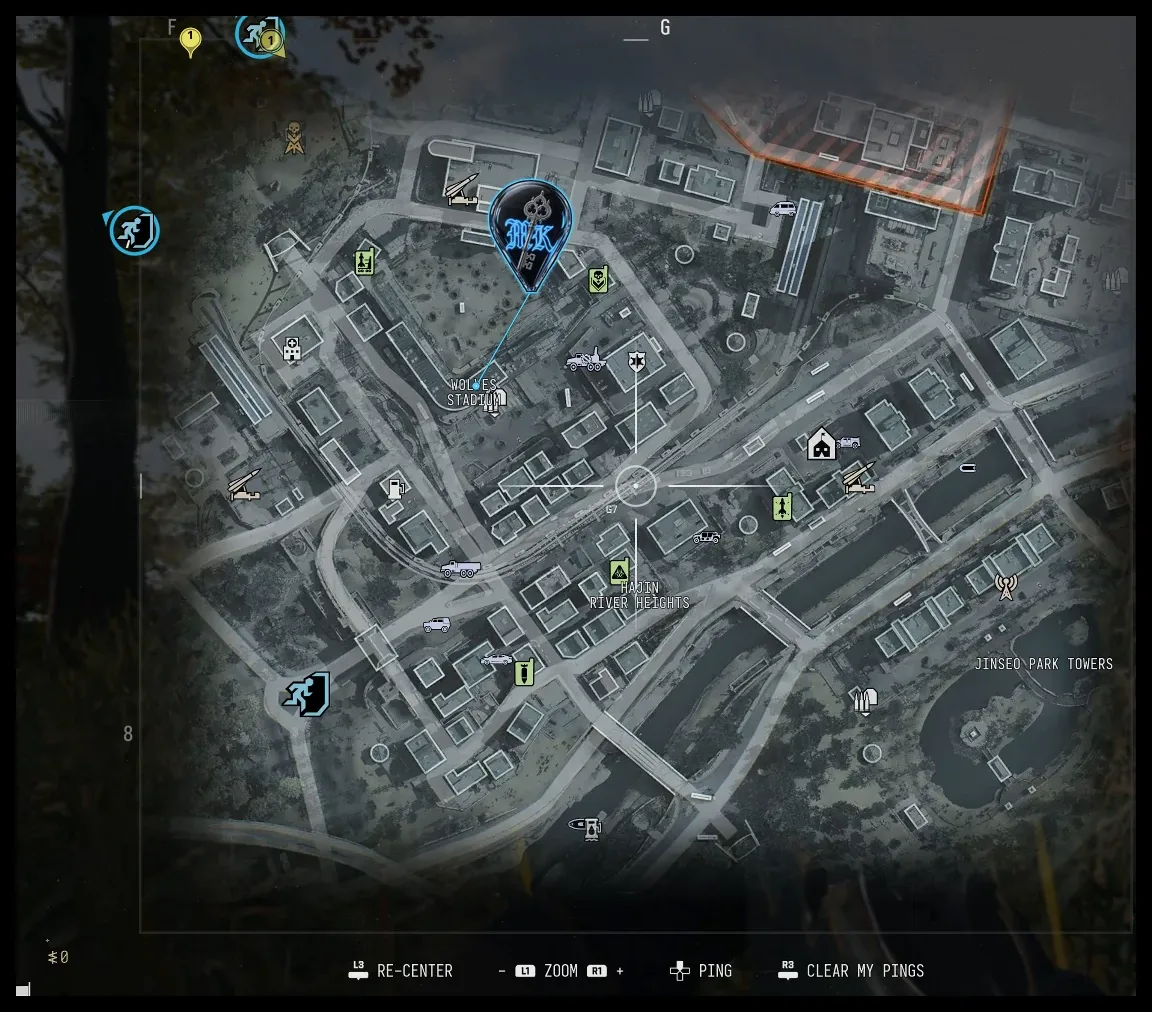
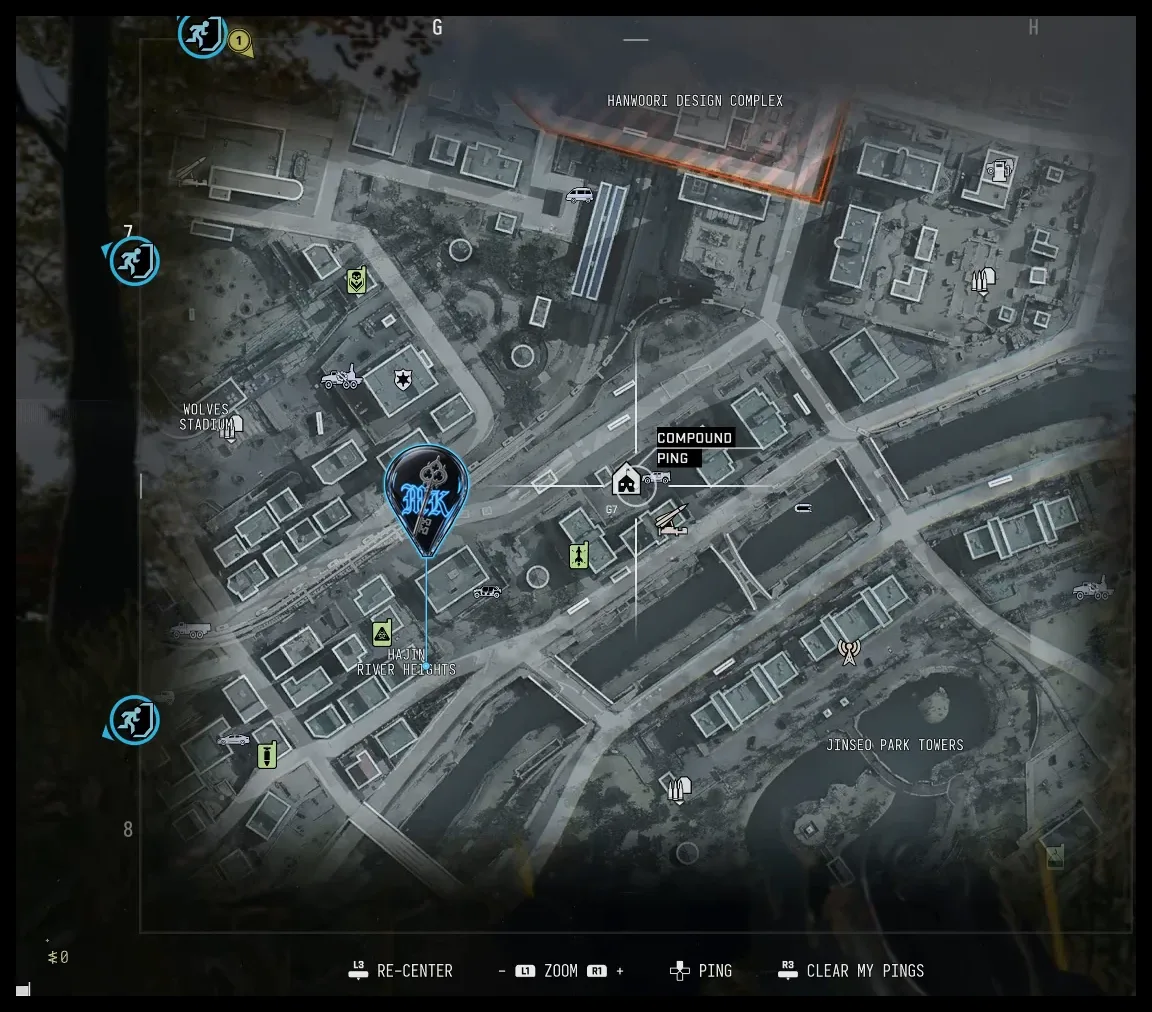
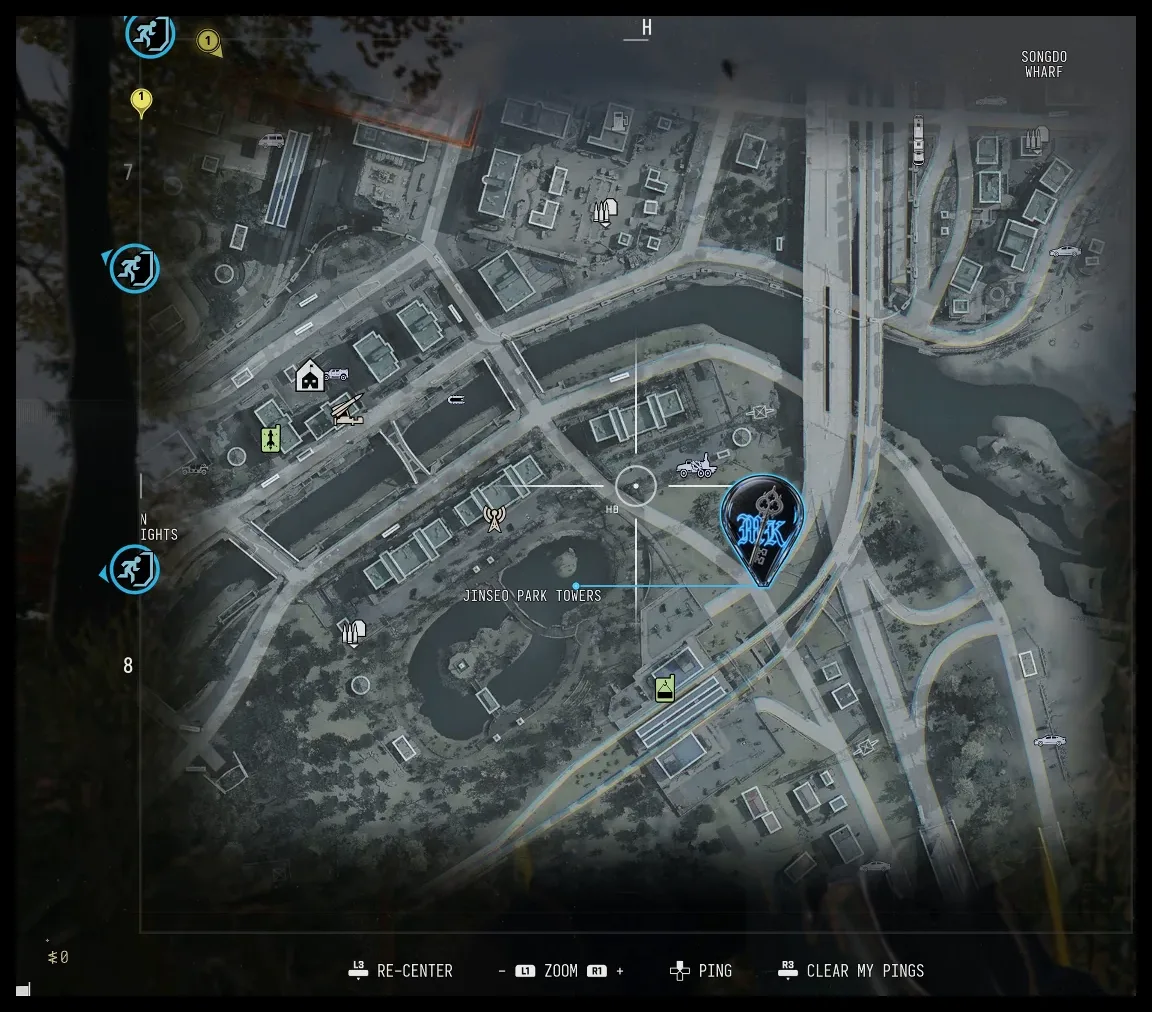
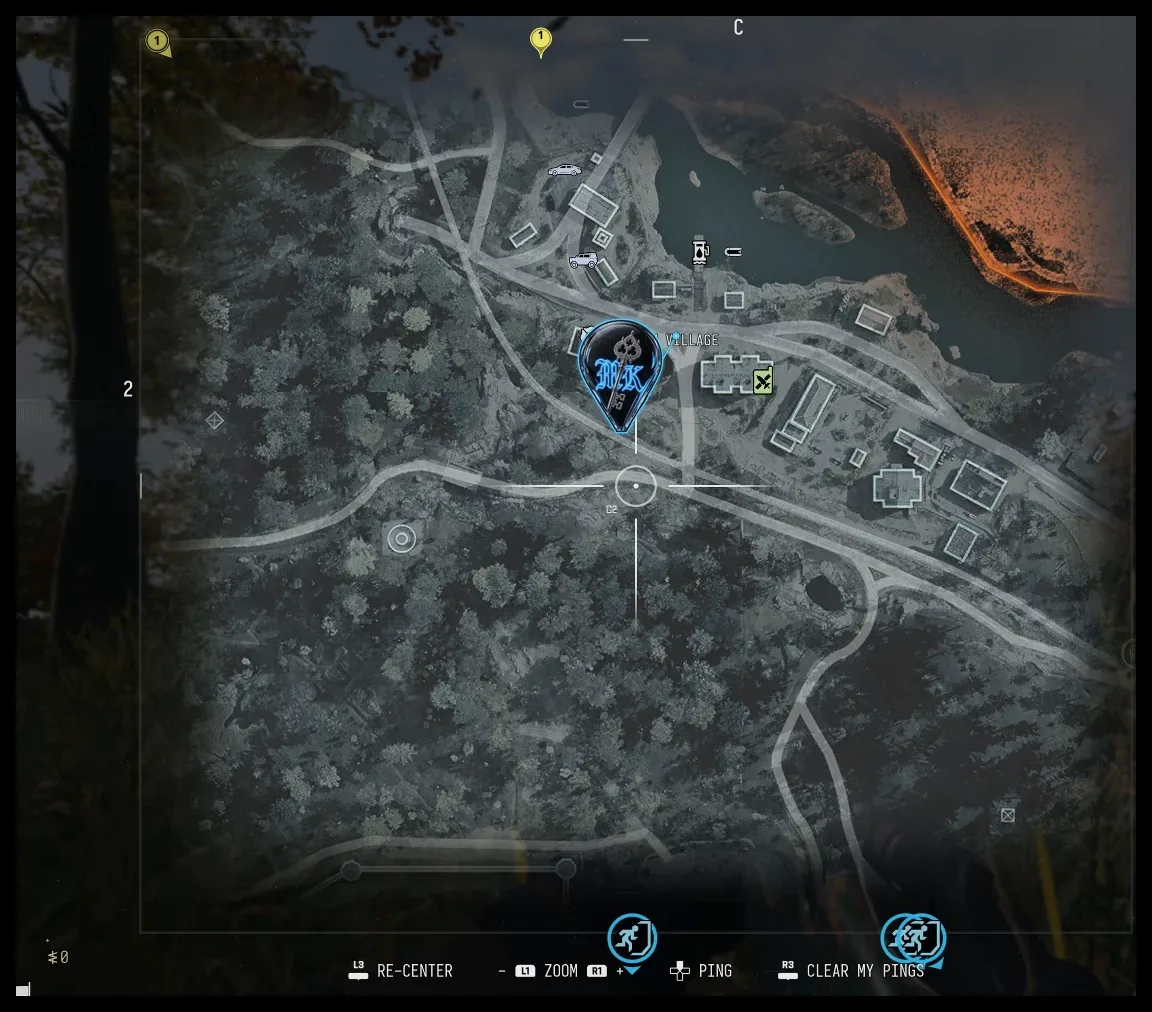
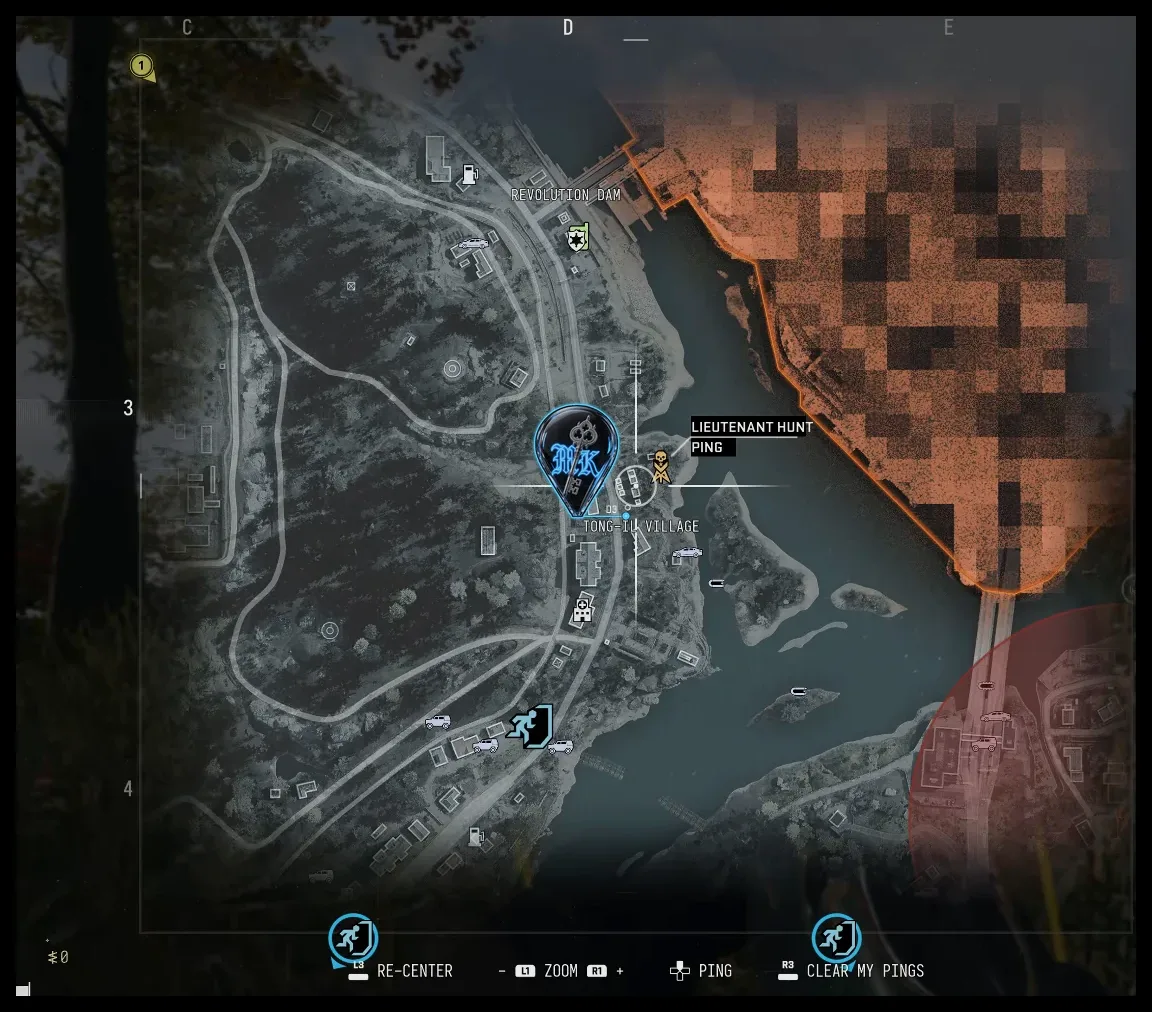
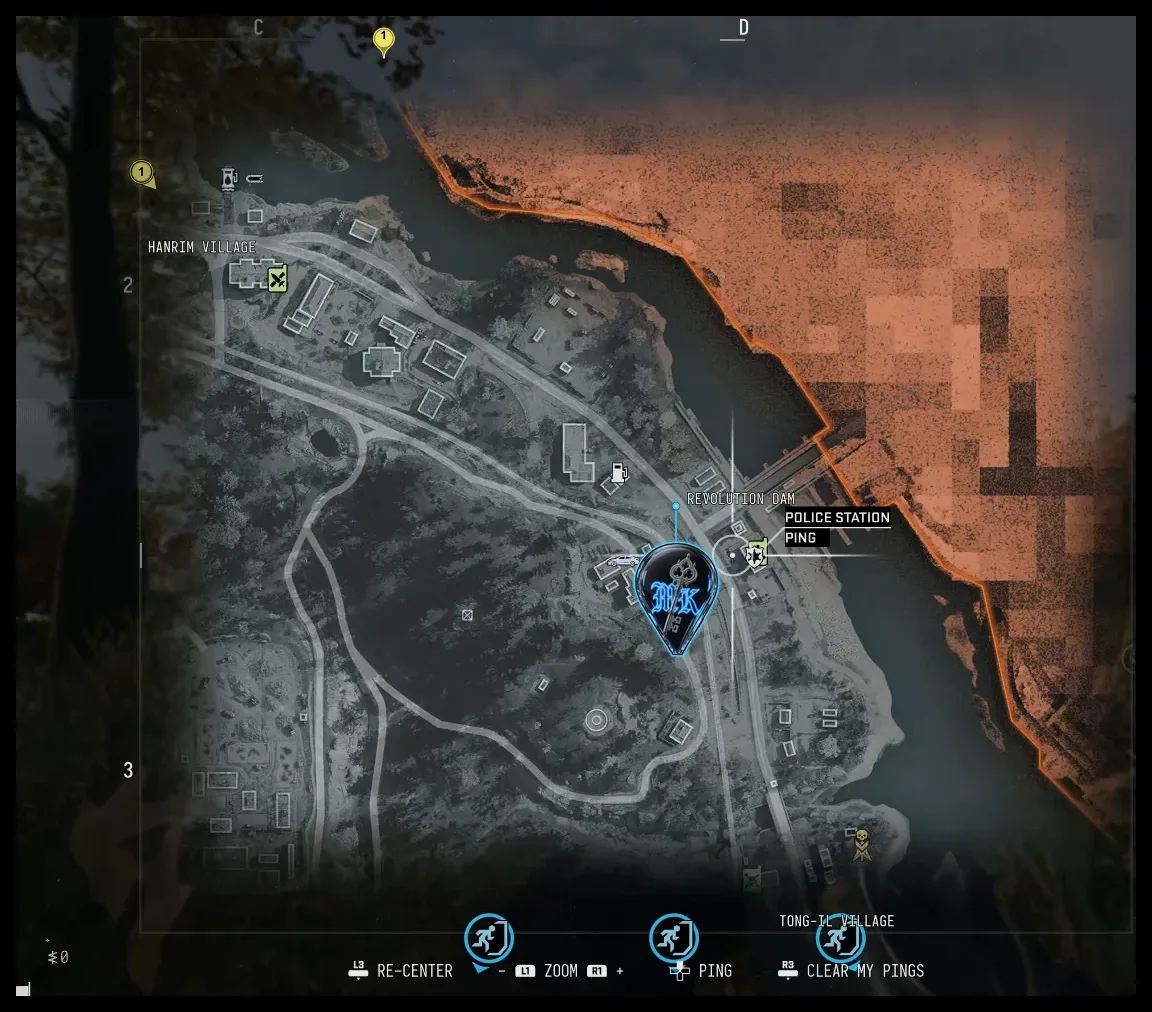
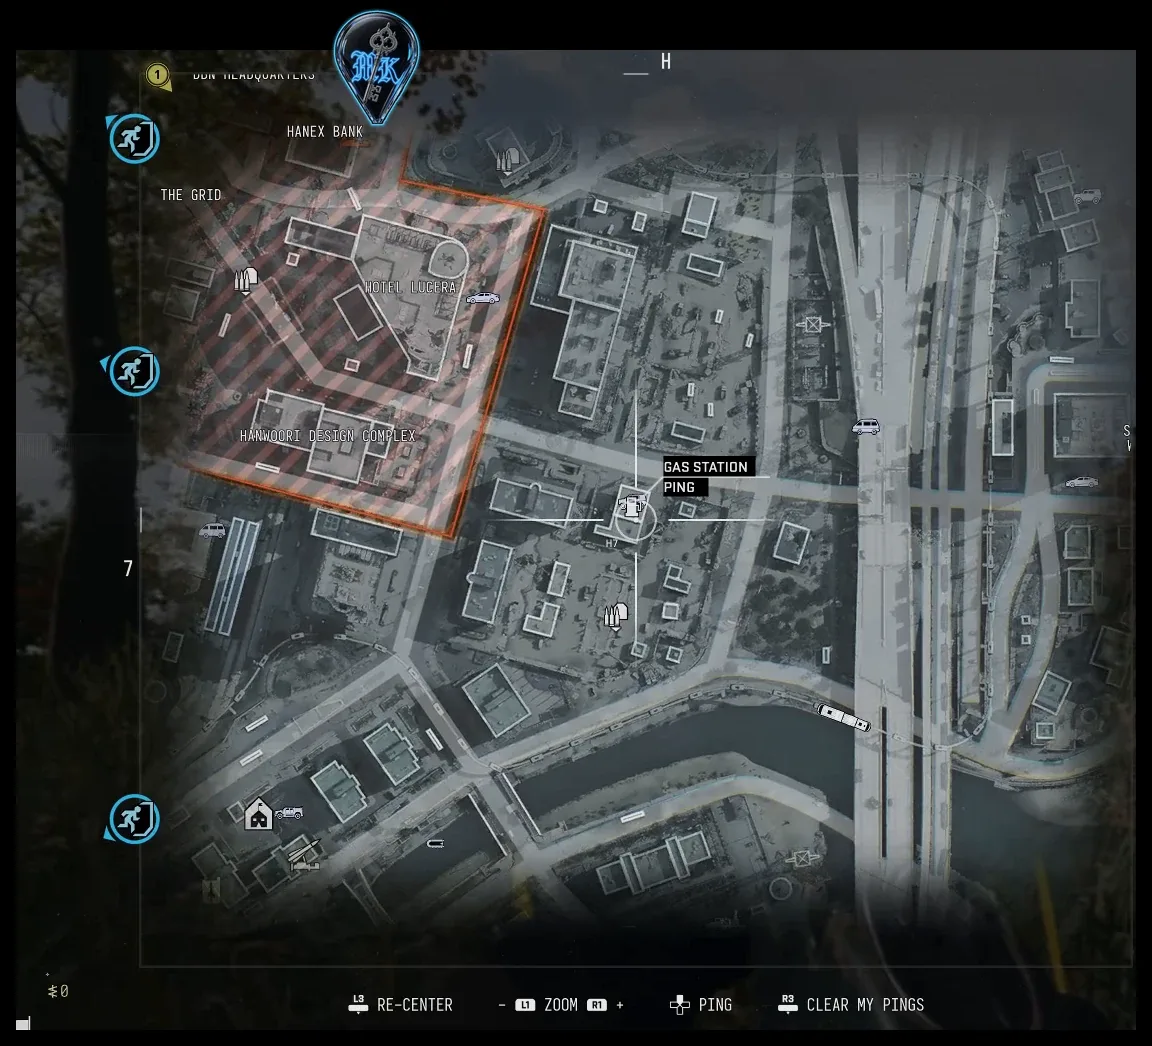
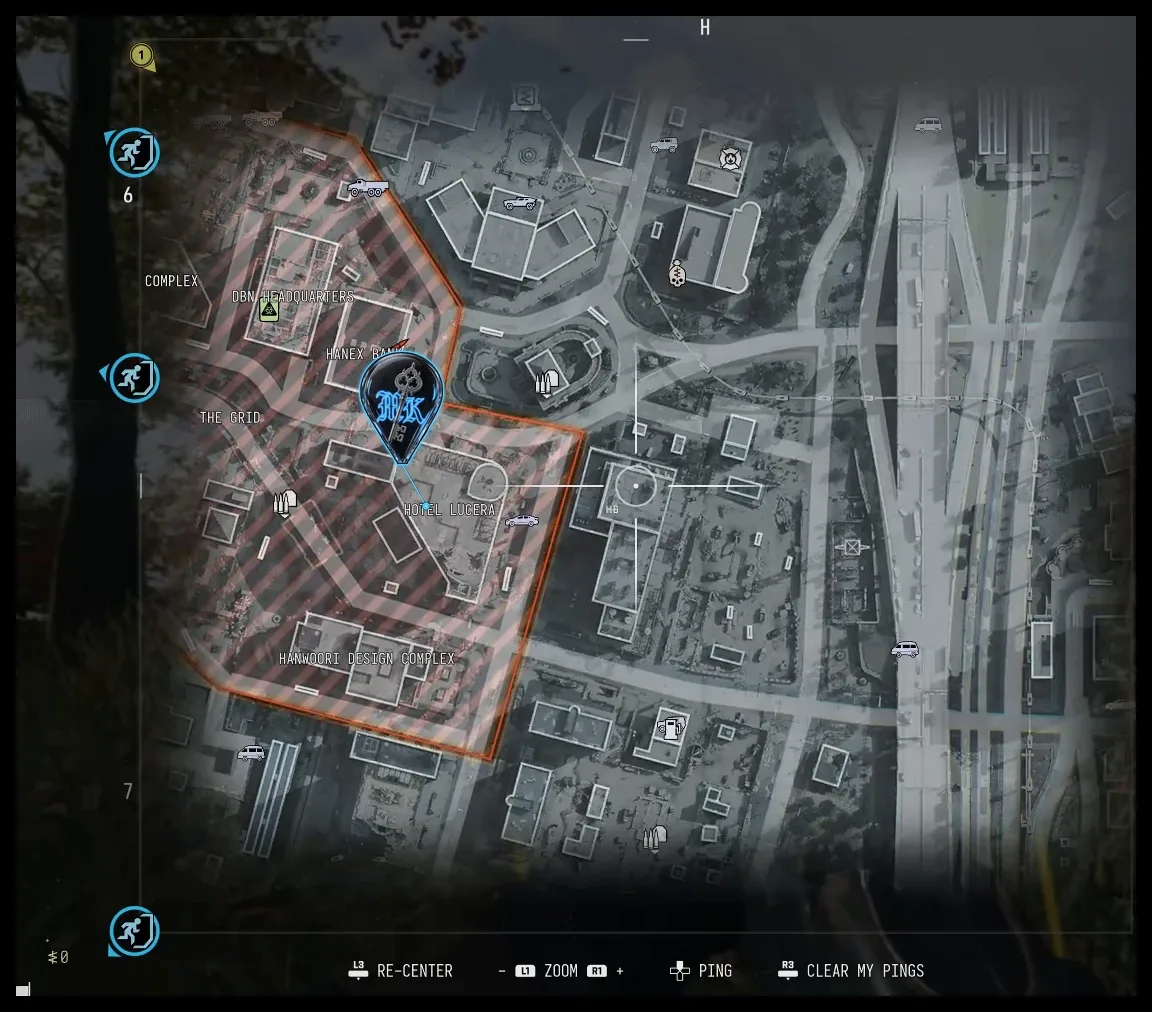
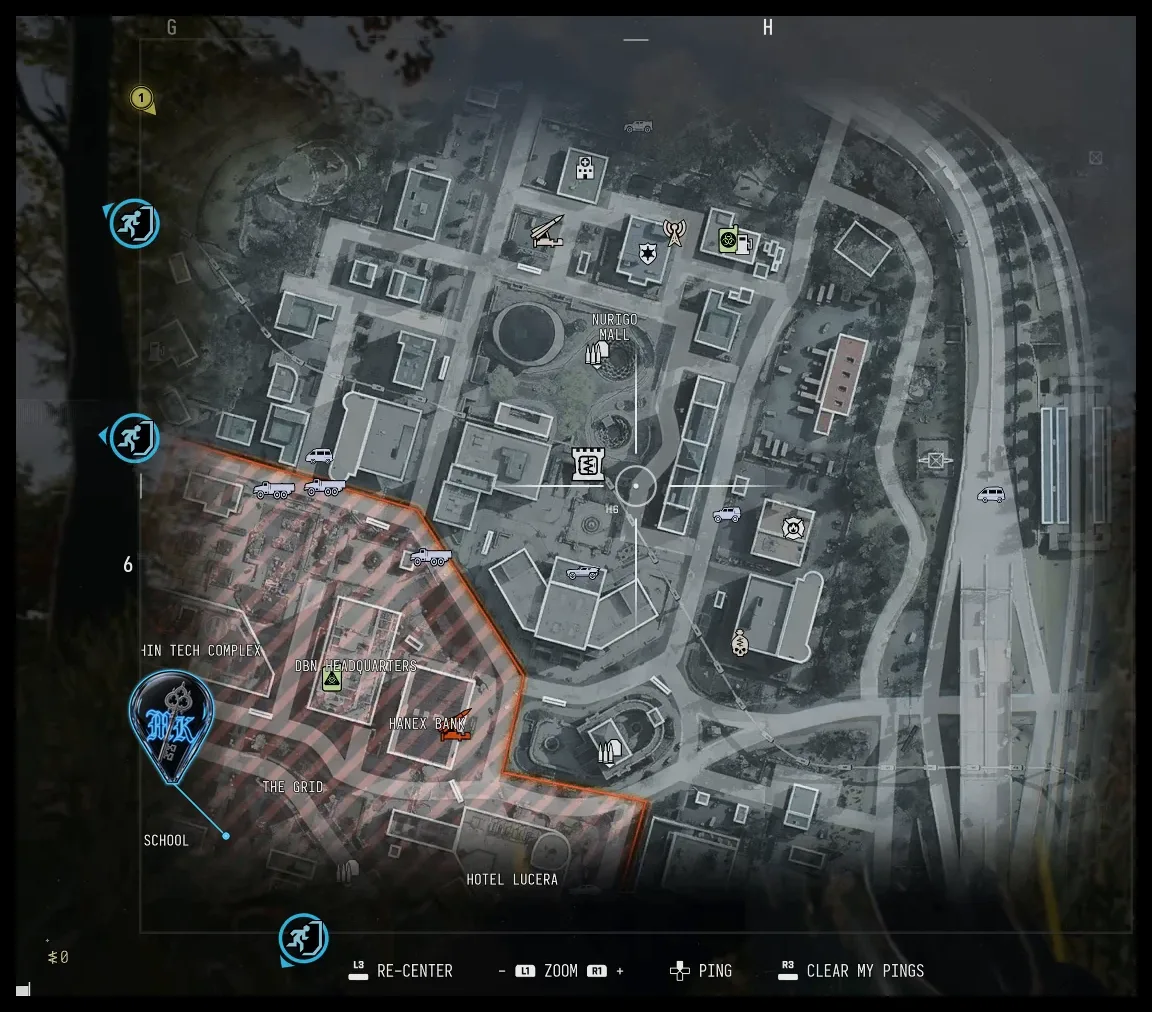
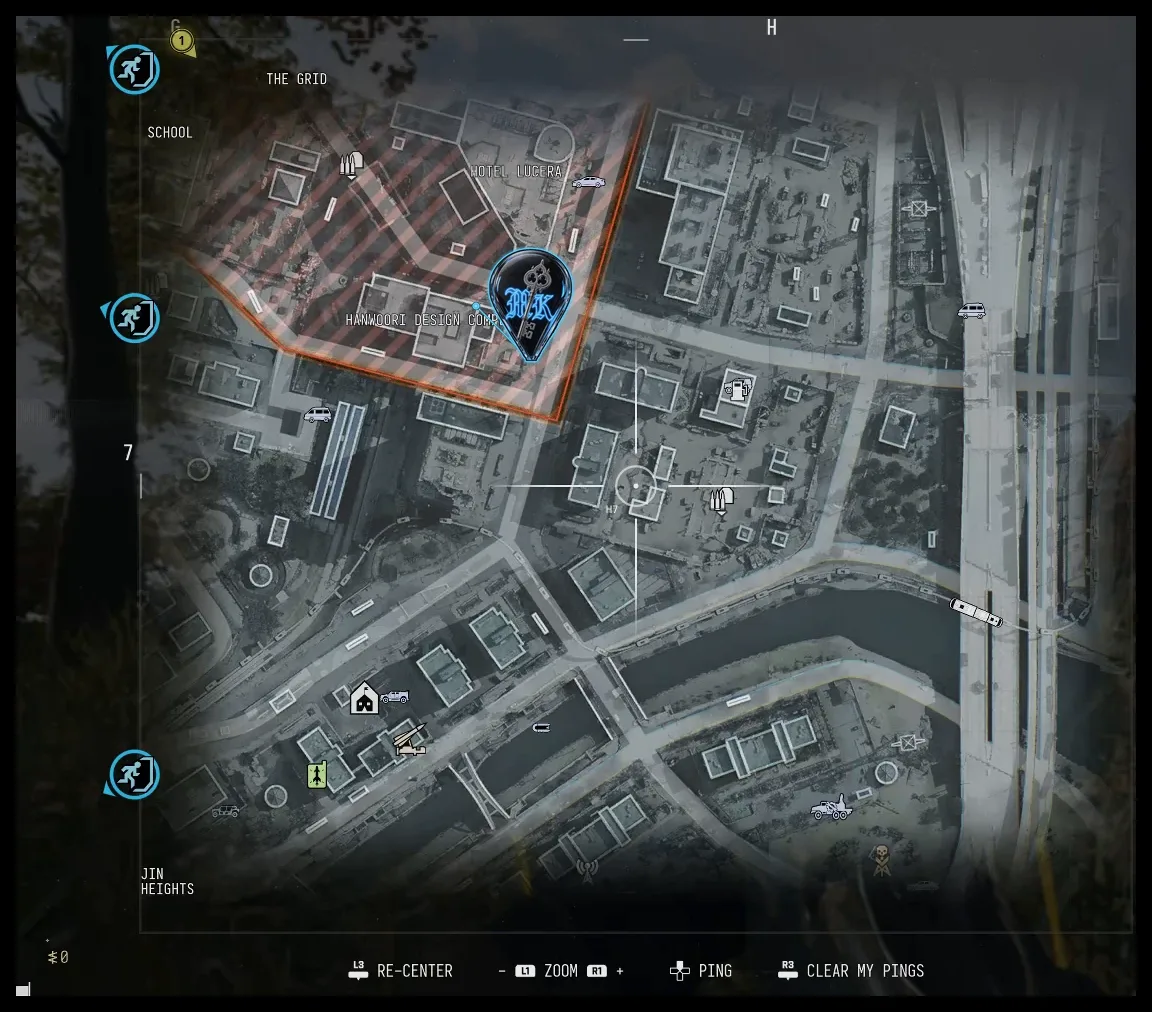
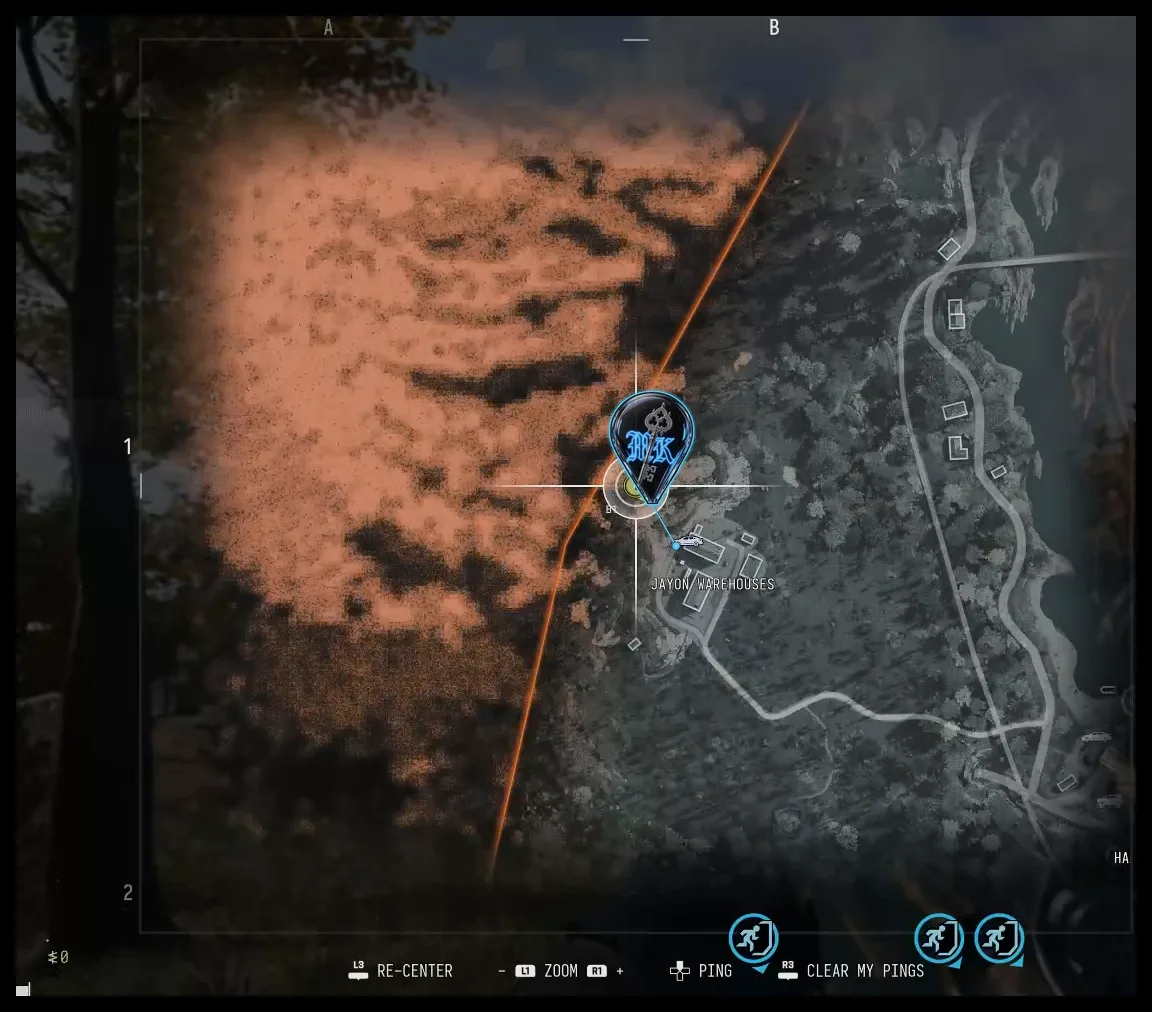
Parkour pays — stashes and routes.
Do not play music in the background with your mic constantly on. Switch to push-to-talk if you want music.
When a teammate calls out "player, player," they are asking you to unite and join the gunfight.
"I'm cracked" or "he's cracked" means the speaker has broken the armor of an enemy operator.
"One down, not dead" means the player is in last stand but not eliminated — still revivable. That call decides whether the squad pushes in or backs off.
"I got two, one left" means two eliminated, one still wandering somewhere. Teammates should spread or hold angles instead of chasing.
AI difficulty callouts: if an AI downs you, say which tier — e.g., "I was downed by a tier three." It tells teammates the difficulty they face coming to rescue. Especially essential if they need a minute to reload or put plates in before committing to the save.

Season 1 black site. All 15 Orders, 15 areas, 5 bosses, and the key items index.
Open X01 →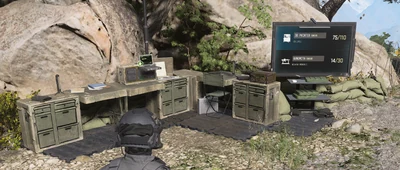
The Forward Operating Base: 3D Printer, Vendor, Gunsmith, and station photos.
Open FOB →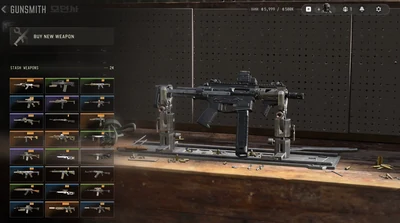
The Gunsmith stash and Vendor weapons.
Open weapons →
The launch exclusion zone, with area threat ratings and linked Orders.


